When you purchase through links on our site, we may earn an affiliate commission. Here’s how it works.
Gone are the days when wired security cameras were the only option for ensuring the safety and security of any given asset or vicinity.
Over the past few years, many have shifted to wireless security cameras, which have proven more effective and efficient.
These security cameras can be easily installed and relocated to your preferred location, giving them a significant advantage over traditional wired security camera systems.
If you’ve recently purchased a wireless security camera and are unsure about how to install a wireless security camera system at home, follow the instructions below.
Steps to Follow While Installing a Wireless Security Camera System at Home

Step by Step: How to Install Wireless Security Camera System at Home
Step 1. Decide the Location
Choosing the right location is crucial when installing a wireless security camera system. Assess the exact angle and location where the camera should be mounted.
Although you can adjust the location and position later, starting with a clear idea is beneficial.
Step 2. Decide the Height
After selecting the location and position, the next step is determining the appropriate height.
While the height should meet your surveillance requirements, mounting the camera as high as possible is advisable to protect it from tampering.
A higher placement also provides a wider surveillance range, so selecting the highest possible point for installation is recommended.
Step 3. Installing the Device
With the height and location decided, proceed with the installation process.
Begin by using a pencil to mark the screw hole locations on the wall where the mounting bracket will be placed.
Then, drill holes at these marks, using a drill bit slightly smaller than the bracket screws to prevent any damage to the wall.
Step 4. Placing the Mounting Bracket
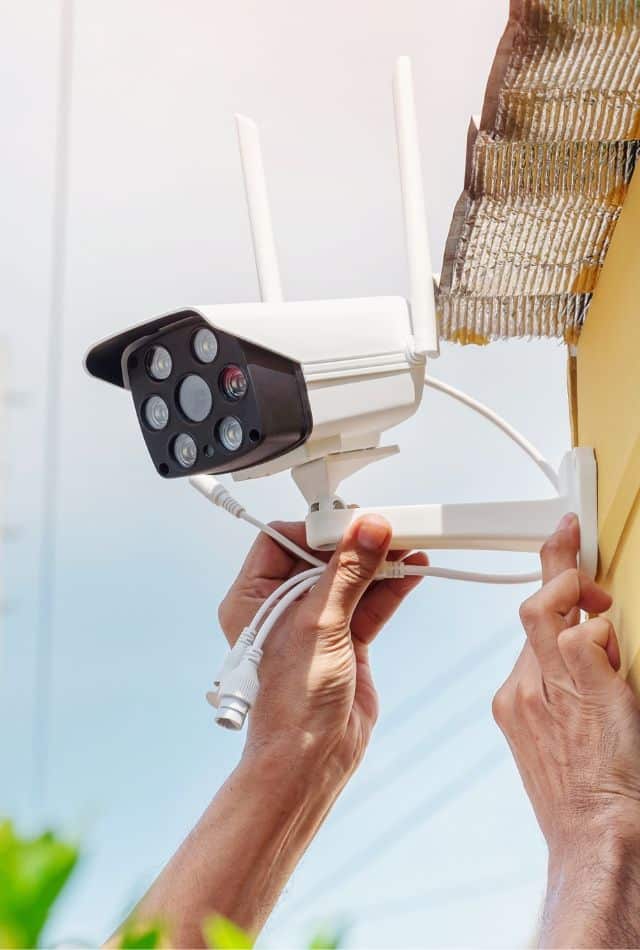
Align the mounting bracket with the holes drilled in the wall, then insert and tighten the screws to secure it in place.
Check to ensure the mounting bracket is firmly attached.
Step 5. Plugging the Camera into the Bracket
Attach the wireless security camera to the mounting bracket and insert the required batteries.
After installation, sync the camera with the receiver, following the instructions provided in the user manual.
Step 6. Setting the Receivers
Install the receiver in your chosen location, ensuring it can properly receive signals from the camera.
Summing It Up
Following these guidelines should help you successfully install your wireless security camera.
Stay tuned for news and updates on your favorite security cameras and devices.
See Also
Follow us