When you purchase through links on our site, we may earn an affiliate commission. Here’s how it works.
Installing a wireless doorbell camera is relatively straightforward. You need some tools and a bit of technical knowledge; no wires are necessary due to its wireless nature.
If you’re not very tech-savvy but still want to attempt installing a wireless doorbell camera, following the provided steps and instructions will greatly assist you.
Recommended Steps for Installing a Wireless Doorbell Camera

How to Install A Wireless Doorbell Camera – Recommended Steps
Step 1: Gather the Necessary Tools and Accessories
Most wireless doorbell cameras require specific tools and accessories for installation. This typically includes screwdrivers, drills, and screws.
The wireless doorbell camera package usually includes some accessories. Use a box cutter or flathead screwdriver to remove an old doorbell camera first.
Step 2: Charge the Wireless Doorbell Camera
Upon unboxing the wireless doorbell camera, check for the battery. Charge it into a power outlet using the provided charging cable.
When inserting the battery is challenging, ensure the wireless doorbell camera is installed on a flat vertical surface before proceeding.
Monitor the battery status through the camera’s red and green lights.
The battery may require four to six hours to charge fully; patience is needed. A green light indicates a full charge.
Step 3: Connect to the Wi-Fi Network
Most manufacturers recommend using the device via an app. After charging the battery, connect the wireless doorbell camera to your Wi-Fi network.
Test the connection before installation to ensure sufficient Wi-Fi signal strength. Use a Wi-Fi extender if the signal is weak, placing it between your router and the doorbell camera.
Step 4: Attach the Mounting Bracket
Before attaching the mounting bracket, drill a hole in the door using a drill and screwdriver.
Ensure the wireless doorbell camera’s angle and position are correct by checking the live feed in the app. Angled mounting brackets can adjust the camera’s angle.
If using an angled bracket, secure it with screws, but avoid overtightening.
Step 5: Mount the Wireless Doorbell Camera
Press the camera into the mounting bracket until it clicks into place, applying slight force if necessary.
Verify the camera is securely attached and correctly angled by testing it with the app.
Step 6: Set Up the Wireless Doorbell Camera
With the camera mounted, proceed with the setup outlined in the user manual or by contacting customer support.
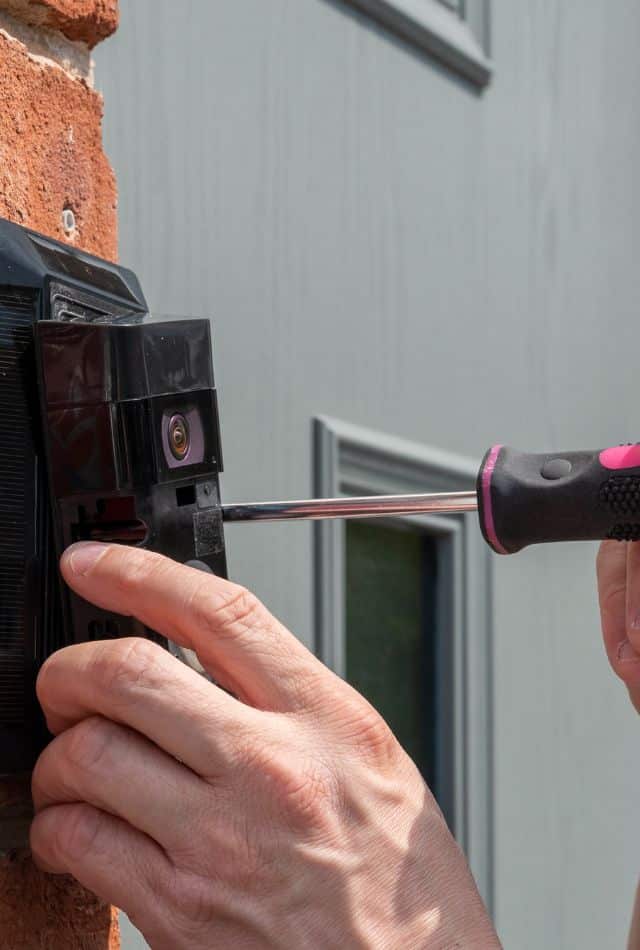
Test the camera’s functionality through the app by moving around it. Secure the camera by screwing the security screws into the base using a screwdriver.
The wireless doorbell camera is now properly installed.
Step 7: Adjust Camera Settings as Desired
After installation, customize the camera settings according to your preferences, including motion detection sensitivity and night vision capabilities. Adjust notification settings on your smartphone as needed.
The Bottom Line on Installing a Wireless Doorbell Camera
The steps and guidelines may vary based on the wireless doorbell camera model.
Always refer to the user manual for precise instructions. We welcome your feedback in the comments section and are open to covering more topics in future posts.
See Also