How to Connect Canon Rebel T7i to iPhone
Canon makes it pretty easy to transfer files directly from the EOS Rebel T7i/800D to your iPhone. This direct transfer feature, first popularized by Nikon, was quickly picked up by Canon and built into their cameras for quick file sharing. Whether you want to share a shot on social media right after a shoot or just back up your files on the go, getting photos from camera to phone is straightforward once you know the steps.
In 2026, there are two main ways to move files from your T7i to an iPhone: a wired USB connection or the Canon Camera Connect app over Wi-Fi. We will cover both methods below, starting with the wired approach since it is the fastest and most reliable.
Method 1: Wired Transfer Using a USB Cable
This is the quickest way to get large batches of photos and videos off your camera. The wired method skips the compression and speed limits you sometimes run into with wireless transfers.
Step 1: Buy an OTG Lightning Fast USB Cable
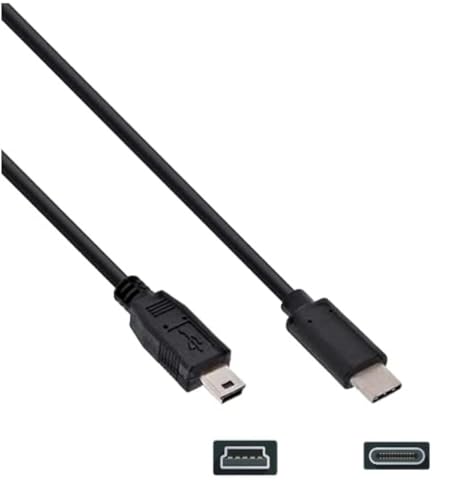
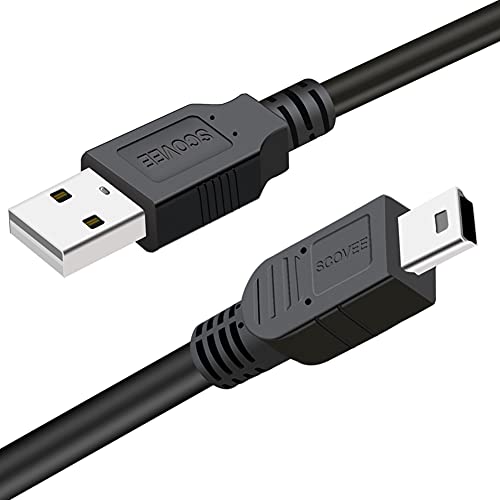
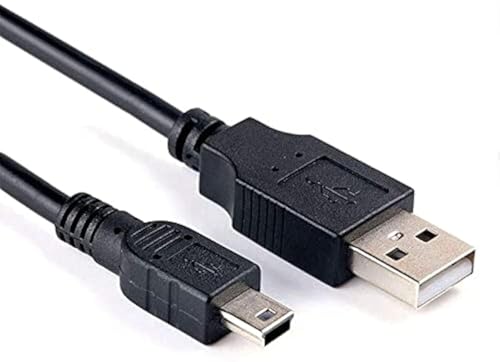
You’ll need a USB cable with a Lightning connector that supports fast file transfer. If you have a newer iPhone running USB-C (iPhone 15 or later), grab a USB Mini-B to USB-C cable instead. This lets you move high-resolution photos from your Canon EOS Rebel T7i / 800D to your iPhone without long wait times.
A quick tip: stick with cables from Apple or well-known third-party brands like Anker or Belkin. Cheap no-name cables sometimes drop the connection mid-transfer, which can be a real headache when you are moving hundreds of RAW files.
Step 2: Connect Both the Camera and the iPhone with a Single USB Cable
Find the USB port on the right side of the camera. It is behind a small rubber flap. Plug one end of the cable into the camera and the other end into your iPhone. Make sure the camera is turned on before you plug in, as some iPhones won’t detect a powered-off camera.
Step 3: Turn on Your iPhone
Make sure your iPhone is powered on and unlocked so the file transfer can actually go through. If your phone is locked or in sleep mode, it may not recognize the camera at all.
Step 4: Look for the Import Option on Your iPhone
When you unlock your iPhone, the Apple Photos app should pop open automatically. Look for the Import option in the right-hand corner of the app and tap it. If the Photos app does not open on its own, launch it manually and check the Import tab at the bottom of the screen.
Step 5: Wait While the App Detects and Reads the Photos
Your iPhone will start reading all the files stored on your camera, including JPEG and RAW files. If your camera has dual memory cards, the iPhone will pull files from both. Depending on how many photos you have, this can take anywhere from a few seconds to a couple of minutes.
Step 6: Select and Import Your Photos
Once all photos are loaded, you can tap “Import All” to grab everything, or select specific images you want to transfer. After the import finishes, you’ll get a prompt asking whether you want to keep copies on your camera’s SD card or delete them. If you are not sure, keep the originals on the card until you have confirmed the import went through cleanly. That’s it, you’re done.
Method 2: Wireless Transfer with Canon Camera Connect
The T7i has built-in Wi-Fi, NFC, and Bluetooth, so you can also transfer files without any cables at all. This is great when you only need to move a handful of shots and don’t want to dig through your bag for a cable.
Step 1: Download Canon Camera Connect
Head to the App Store on your iPhone and search for “Canon Camera Connect.” Download and install it. The app is free and works with most Canon cameras released in the last several years.
Step 2: Enable Wi-Fi on Your T7i
On your camera, press the Menu button and navigate to the wireless communication settings. Turn on the Wi-Fi function and select “Connect to smartphone.” The camera will display a network name (SSID) and password.
Step 3: Connect Your iPhone to the Camera’s Wi-Fi Network
Open Settings on your iPhone, go to Wi-Fi, and find the network name that matches what your camera is showing. Enter the password displayed on the camera screen. Once connected, go back to the Canon Camera Connect app.
Step 4: Browse and Transfer
The app will detect your camera and show you a thumbnail grid of all photos and videos on the memory card. Tap the ones you want, then hit the download button. Transferred files land in your iPhone’s camera roll, ready to edit or share.
One thing to keep in mind: wireless transfers are slower than wired ones, especially for large RAW files. If you are transferring dozens of images, the USB cable method is a better bet.
Troubleshooting Common Connection Issues
Sometimes things don’t go as smoothly as planned. Here are the most common problems and how to fix them.
iPhone Doesn’t Detect the Camera
Try unplugging and replugging the cable. Make sure the camera is turned on before connecting. If you are using a Lightning cable, check that it supports data transfer and not just charging. Some cheap cables only carry power and won’t show up as a data connection.
Photos Won’t Import
Restart both devices and try again. Also check that your iPhone has enough storage space. A full phone will refuse new imports without always giving a clear error message.
Canon Camera Connect Won’t Pair
Make sure Bluetooth is enabled on both devices. On the camera, reset the wireless settings and start the pairing process from scratch. Deleting the camera from your iPhone’s Bluetooth settings and re-pairing often clears up stubborn connection issues.
Why the Canon Rebel T7i Works Well for Casual and Family Photographers
The Canon EOS Rebel T7i/800D really shines in auto mode. It automatically sets exposure, focus, and white balance, so anyone can grab great-looking shots without fiddling with settings. The one downside? The built-in flash can sometimes overexpose your images. If you turn it off in Auto mode, you might get some blur since the camera drops the shutter speed instead of bumping up the ISO.
That said, the T7i/800D produces excellent color in JPEG that holds up well against the competition. It shoots consistently whether you’re using live view or the optical viewfinder, though performance can dip a bit when you’re composing through the rear screen.
For a different take, see our guide on how to use Canon powershot sx70 hs.
What makes this camera especially practical is how easy it is to get files off of it. Transfer to a computer or iPhone takes just a few minutes with the right cable.
Canon Rebel T7i Key Specs at a Glance
Canon’s track record with digital cameras speaks for itself, and the Rebel T7i/800D is a solid example. With its 24MP sensor and Dual Pixel AF system, it’s similar to the EOS 77D but includes a built-in guiding function by default. Here’s what you’re getting:
- 24 MP APS-C sensor with Dual Pixel design
- 45 cross-type AF points
- Built-in NFC, Bluetooth, and Wi-Fi
- 1080p video up to 60fps with electronic IS
- 1.04M-dot fully articulated rear LCD
Tips for Getting the Best Results When Transferring
A few things that will make your transfer experience smoother in 2026:
First, format your SD card in-camera regularly. This keeps the file system clean and reduces the chance of read errors during transfer. Second, if you shoot in both RAW and JPEG, consider transferring just the JPEGs to your phone for quick sharing. RAW files are huge and take much longer to move. You can always pull the RAW files to your computer later for serious editing.
Third, keep your camera firmware and the Canon Camera Connect app updated. Canon pushes updates periodically that fix bugs and improve compatibility with newer iPhones and iOS versions.
If you’re stepping into DSLR photography for the first time, the T7i/800D gives you a nice mix of beginner-friendly controls and advanced features to grow into. And now that you know how to get your photos onto your iPhone, you can share your best shots in minutes instead of waiting until you get home to your computer.