How to Connect Canon G7X Mark II to Computer
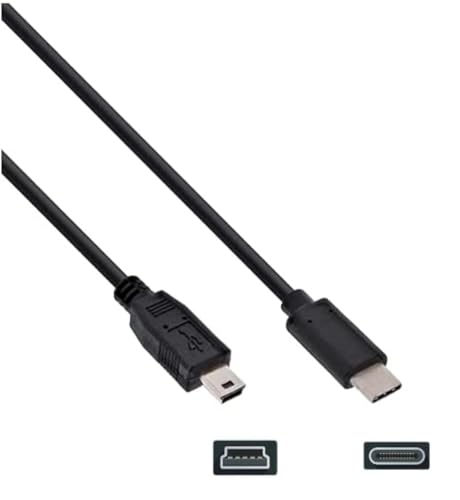
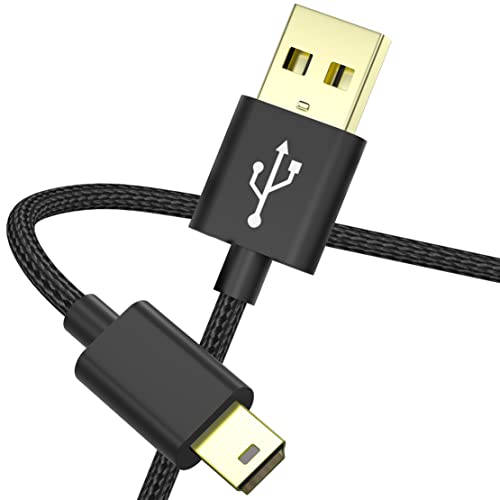
If you’re wondering how to connect Canon G7X Mark II to computer, the process is straightforward once you have the right cable. You’ll have high-resolution photos and videos stored on your camera, and transferring them works best with a high-speed USB cable. A good cable makes the transfer fast and reliable, which matters a lot when you’re moving large files.
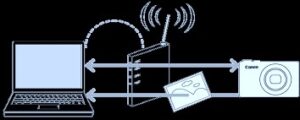
To connect the Canon G7X Mark II camera to your desktop or laptop, you need a dedicated USB cable that allows the two devices to communicate with each other. You can connect the camera even when your computer is already running other applications, so there’s no need to close anything first.
Important Note: You’ll need to install the software and driver pack that came with the Canon digital camera solution disk. Without these drivers, your PC won’t recognize the camera. If you’ve lost the physical disk, you can download the latest drivers from Canon’s official support website.
Here are a few things to keep in mind before getting started:
- When connecting through a USB cable, you don’t need to turn off the camera or the computer first.
- To learn about your desktop or laptop’s USB ports, check the manual that came with your PC.
- We recommend using a fully charged battery pack. You can also use a compact power adapter kit ACK-DC20 (sold separately) to power the camera while it’s connected to the computer.
- If you’re connecting to a USB 2.0 compliant board, be aware that full performance may not be guaranteed.
Before you start the steps below, close any software that’s currently in use on your computer. Now let’s walk through the connection process.
Step 1: Install Drivers and Software
First, install the drivers and software applications from the Canon digital camera solution pack. On modern Windows and Mac systems, the camera may be recognized automatically, but installing Canon’s official software gives you better control over file transfers and image management.
After installation, set the image browser to start automatically when the camera is connected. This saves you a step every time you plug in and makes the whole transfer process quicker.
Step 2: Connect the USB Cable
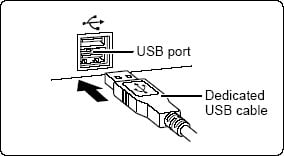
Plug one end of the USB cable into your computer’s USB port and the other end into the digital camera’s USB port. Check your camera’s user manual if you’re unsure where the USB port is located on the camera body.
When the connection between both devices is successfully made, the camera’s LCD monitor will go blank and the power/mode indicator will start glowing yellow. This is completely normal and means the connection is working properly.
Important Tips to Remember
- Always use the dedicated cable that came with your Canon G7X Mark II. Third-party cables can sometimes cause data transfer issues or connection drops.
- Loose connections can cause malfunctions or corrupt your files. Push the plug firmly into the socket to prevent any connection loss.
- Don’t connect your camera through a USB hub. Direct connections to your computer’s built-in USB ports work much more reliably.
- If you have multiple USB devices connected (other than a mouse and keyboard), you may run into connection problems. Don’t connect two cameras to the same computer at the same time, as it can cause conflicts between the devices.
- If your Mark II’s battery is running low, use the compact power adapter kit ACK-DC20 to keep the camera powered during the transfer. This way you won’t lose the connection mid-transfer due to a dead battery.
- While the camera is connected, don’t put your computer into sleep mode. If your computer does go to sleep, bring it back to its active state before disconnecting the USB cable. Unplugging the cable while the computer is sleeping can cause file corruption or other problems in some cases. Always wake the computer first, then safely disconnect.
Canon G7X Mark II Overview
The Canon G7X Mark II features a 20.1 megapixel 1-inch CMOS sensor and uses the same lens as its predecessor. One of the biggest upgrades in the Mark II is the DIGIC 7 processor, which brings faster image processing and better low-light performance.
There’s a handy little switch next to the lens for toggling between smooth and stepped rotation of the control ring. The 3-inch tilting touchscreen display makes it easy to capture shots from different angles, which is great for vlogging and creative photography.
While 4K video isn’t available on this model, the Mark II records Full HD video with solid quality. For sharing your photos and videos wirelessly, you can take advantage of built-in WiFi and NFC connectivity.
By following the steps above, you should have no trouble getting your Canon G7X Mark II connected and transferring files to your computer quickly and safely.