When you purchase through links on our site, we may earn an affiliate commission. Here’s how it works.
How to Clean a Camera Lens: What to Know Before You Start
You spent good money on your camera lens. Keeping it clean is one of the simplest ways to make sure it keeps performing the way it should.
That’s why it’s smart to keep a few lens-cleaning tools in your camera bag at all times, no matter what you shoot. A bulb blower, lens cleaning solution, and a microfiber cloth don’t take up much space, and they’ll save you when you’re out in the field dealing with dust, moisture, or an accidental fingerprint on the front element.
Dust, fingerprints, and water spots can all degrade your image quality. Even a thin smudge on the front element can cause haze, reduce contrast, and soften your photos in ways that are hard to fix in post-processing.
Here are the best methods to clean and protect your lenses so they keep delivering sharp images for years.
UV Filters: Prevention Comes First
The best cleaning strategy is to not need cleaning in the first place. Adding a UV filter to the front of each lens helps keep dust, moisture, and fingerprints off the actual glass element. If the filter gets scratched or damaged, you replace a $30-$80 filter instead of sending a $500+ lens in for repair.
Quality matters here. Cheap UV filters can introduce flare, ghosting, or a slight softness to your images. Stick with reputable brands like Hoya, B+W, or Tiffen for filters that maintain excellent optical clarity. Clean these filters the same way you’d clean your lens, using the methods below.
Bulb Blower: Always Start Here
The very first step in any lens cleaning routine is a bulb blower. Give the front and rear elements a few strong puffs of air to blow away loose dust and particles before you touch the glass with anything else. This matters because if you skip this step and go straight to wiping, you risk dragging grit across the lens coating, which can cause micro-scratches over time.
Bulb blowers come in different sizes. Larger ones push more air and do a better job dislodging stubborn dust. Smaller ones are easier to carry in a camera bag. A lot of photographers keep a compact blower in their bag for field use and a bigger one at home or in the studio.
One important note: never use canned compressed air on a lens. The propellant can leave residue on the glass, and the force can be strong enough to push particles into the lens barrel.
Lens Brush: For Stubborn Dust
If the bulb blower doesn’t get everything, a lens brush is the next step. Good lens brushes have ultra-soft bristles that are gentle on coated glass while still being effective at dislodging particles that won’t budge with air alone.
Use light, sweeping motions across the lens surface. Don’t press hard. The goal is to lift the dust, not push it around.
There’s one situation where you should skip the brush: if you can see oil spots, watermarks, or any kind of wet residue on the lens. A brush will just spread those around and make things worse. For wet marks, jump straight to a microfiber cloth with cleaning solution.
Lens Pen: Quick Fixes On the Go
A lens pen is one of those tools that seems simple but turns out to be surprisingly useful. One end has a retractable brush for dust. The other end has a soft, rounded cleaning pad coated with a carbon-based compound that lifts fingerprints and smudges without any liquid.
Every time you cap the lens pen, the carbon compound refreshes the cleaning pad. That means it’s always ready to go. Lens pens are perfect for quick cleaning in the field when you don’t want to mess with bottles of solution and cloths.
After using the carbon pad, give the lens a quick puff with your blower or a light brush to remove any remaining carbon particles.
Deep Cleaning with Lens Solution
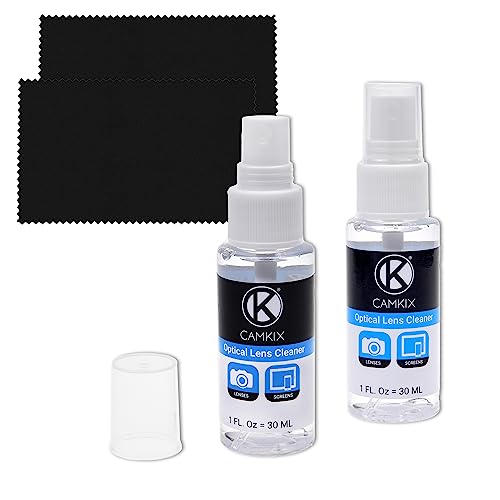
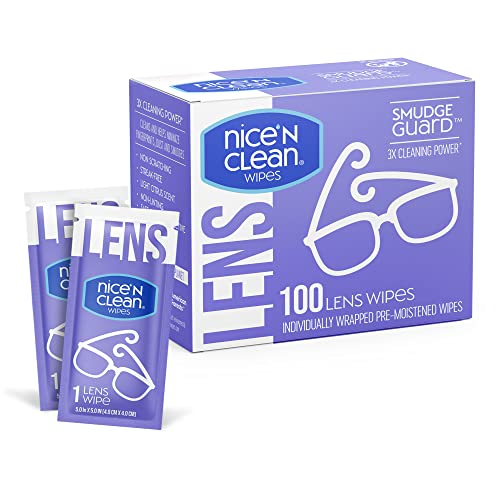
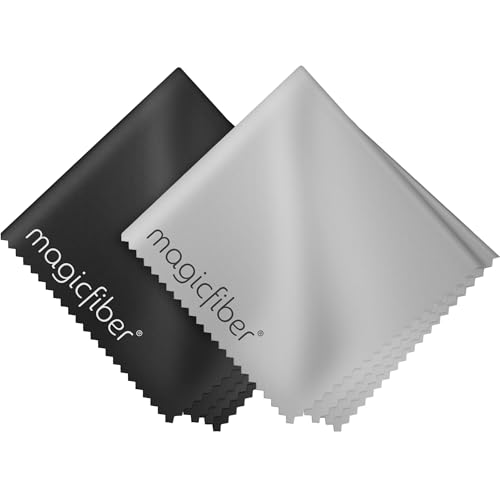
For stubborn marks that won’t come off with a blower, brush, or lens pen, you’ll need a proper lens cleaning solution and a dedicated lens cloth or lens tissue.
Lens cleaning solutions come as either sprays or dropper bottles. Apply a few drops of solution directly onto the cloth (not onto the lens itself, as liquid can seep into the edges of the lens element). Then wipe in a gentle circular motion starting from the center of the lens and spiraling outward toward the edges. This pattern prevents streaking and pushes residue off the glass rather than spreading it around.
Repeat as needed until the surface is clean. For really stubborn spots, let the solution sit on the cloth for a moment before wiping.
Don’t Overdo It
Here’s something a lot of new photographers don’t realize: cleaning your lens too often can actually do more harm than a bit of dust. Lens elements have delicate coatings (anti-reflective, water-repellent, etc.) that can wear down with excessive cleaning. A speck of dust on the front element almost never shows up in your photos. A scratch from over-enthusiastic cleaning will.
Clean only when you actually see something on the glass that’s likely to affect image quality, like a fingerprint, water spots, or a visible smear. Minor dust? Leave it alone.
Always use front and rear lens caps when your lenses are stored or not mounted on a camera body. This is the single easiest way to keep lenses clean and reduce how often you need to clean them in the first place.
Final Thoughts
Once you’ve got the basics of lens cleaning down, it becomes second nature. Combine good prevention habits (UV filters, lens caps, careful handling) with a proper cleaning routine when needed, and your lenses will stay in great shape for years. The key is to clean when necessary, not compulsively, and to always start with the gentlest method before moving to anything more aggressive.
See Also
