Canon 80D Portrait Settings: A 5-Step Guide
Getting your Canon 80D portrait settings dialed in correctly makes all the difference between a flat snapshot and a portrait that really pops. Whether you’re brand new to portrait photography or you’ve been shooting for years, these tips will help you get sharper, better-exposed portraits.
Canon designed some excellent lenses for portrait photography that pair perfectly with the Canon 80D and its flip screen.
Best Exposure Modes for Portraits
For even brightness and reliable autofocus, start with one of these exposure modes:
- P (Program AE) or
- Av (Aperture-priority) exposure modes
Use a wide aperture (low f-stop number) to create a shallow depth of field. This blurs the background and draws attention to your subject’s face, specifically the eye closest to the camera.
Pro tip: Experiment with color tone and skin tone adjustments for softer, more flattering skin tones. Here’s how to set up your Canon 80D for portraits step by step:
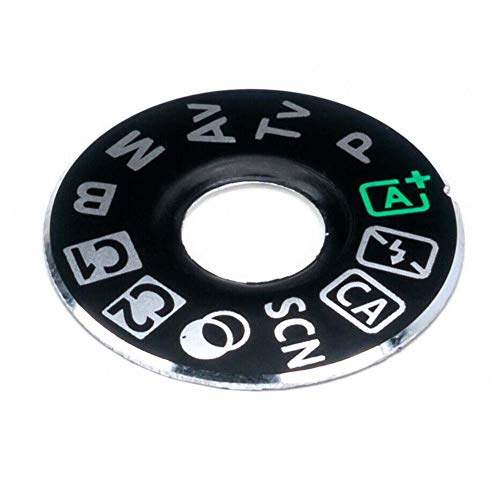
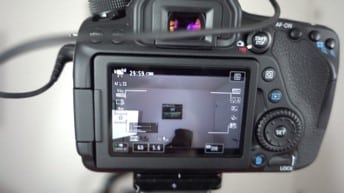
Step 1. Switch to Manual Mode (M)
In manual mode, you control both aperture and shutter speed independently.
Look at the exposure level indicator in the Canon 80D’s viewfinder and adjust your settings until the marker sits in the center. Depending on your scene, you might want to overexpose slightly (marker to the right) or underexpose (marker to the left) for creative effect.
Step 2. Set Your ISO
ISO might seem less important when you’re shooting in natural light, but it directly affects your exposure. In bright daylight, most cameras default to ISO 100. Bump it up as the light drops, but try to keep it as low as possible to avoid noise.
Canon 80D Portrait Settings – choose your ISOStep 3. Choose Your Aperture
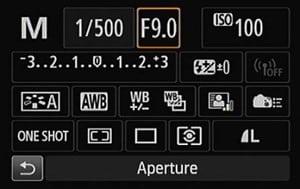
For a beautifully blurred background, shoot at f/1.4 or f/1.8. If you want more of the scene in focus (or a sharper overall image), stop down a few clicks from the lens’s widest aperture. Most lenses are sharpest a couple of stops above their minimum f-number.
Step 4. Adjust Your Shutter Speed
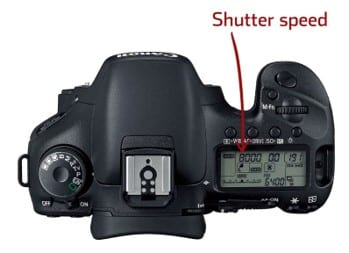
With your ISO and aperture locked in, use the camera’s metering system to set the shutter speed. Adjust it until the exposure indicator is centered. Take a test shot, then review it on the LCD screen and check the histogram to confirm your exposure is on target.
Step 5. Check Your Histogram
The histogram is your best friend for nailing exposure. Push the graph as far to the right as you can without clipping the highlights. This technique (called “exposing to the right” or ETTR) captures the most detail and gives you the most flexibility in post-processing.
Quick Canon 80D Portrait Settings Summary
Here’s a cheat sheet you can reference while shooting:
- Mode: Manual (M)
- ISO: 100-400 in daylight, higher in shade or indoors
- Aperture: f/1.4 to f/2.8 for background blur, f/4 to f/5.6 for sharper group shots
- Shutter speed: At least 1/125s for handheld portraits to avoid motion blur
- Focus: Single-point AF on the nearest eye
- Histogram: Push right without clipping highlights
With these settings as your starting point, you’ll be taking sharp, well-exposed portraits with your Canon 80D in no time. Practice in different lighting conditions and adjust as needed.