Sony A6000: Getting the Most Out of Your Camera
The Sony A6000 has been around since 2014, and it’s still one of the best-selling mirrorless cameras for good reason. Sony packed a 24.3-megapixel APS-C sensor, 179 phase-detection AF points, and 11 fps burst shooting into a body that fits in a jacket pocket. For travelers, street photographers, and anyone stepping up from a smartphone, it hits a sweet spot of size, speed, and image quality that’s hard to beat.
The camera manual covers every dial and button, but it can be dry reading. This guide focuses on the settings and techniques that actually improve your photos day to day.
First-Time Setup
Battery and Memory Card
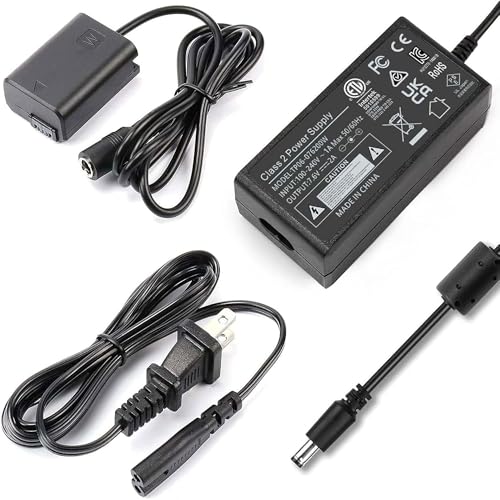
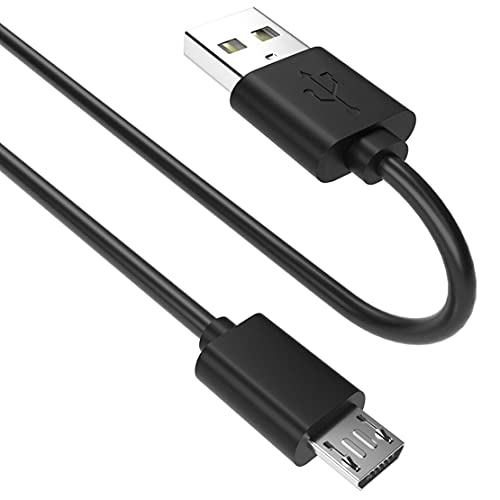
The A6000 uses the NP-FW50 battery, which gets you about 360 shots per charge. That’s the one weak spot of this camera, so pick up a spare battery (or two) if you plan on shooting for a full day. Charge it with the included micro-USB cable connected to a wall adapter.
For the memory card, any SD card will work, but a UHS-I card with at least 40MB/s write speed keeps up with the 11 fps burst mode without filling the buffer too quickly.
Language, Date, and Initial Settings
The first power-on walks you through language, date, time zone, and daylight saving. Get these right so your photo metadata is accurate. After that, you’re dropped into the shooting screen and ready to go.
Shooting Modes Explained
The mode dial on top of the camera has more options than you might expect.
Intelligent Auto (green icon): The camera detects the scene type and adjusts settings automatically. Reliable for quick snapshots.
Superior Auto (gold icon): Same idea as Intelligent Auto, but the camera also stacks multiple exposures to reduce noise and increase dynamic range in tough lighting. The results are noticeably cleaner in low light.
P (Program Auto): The camera picks aperture and shutter speed, but you can shift the combination with the control dial. You also have access to ISO, white balance, and creative style settings.
A (Aperture Priority): You choose the f-stop, the camera handles shutter speed. This is the most useful mode for learning and for everyday shooting. Open the aperture (low f-number) for blurred backgrounds in portraits, or narrow it (high f-number) for landscapes where you want everything sharp.
S (Shutter Priority): You set the shutter speed, the camera adjusts aperture. Use this for freezing fast action (1/1000 or faster) or intentionally blurring motion (1/15 or slower for waterfalls, light trails).
M (Manual): Full control over both aperture and shutter speed. The on-screen meter shows whether you’re over or underexposed. Manual mode is worth learning because it forces you to understand the relationship between aperture, shutter speed, and ISO.
SCN (Scene): Pre-configured profiles for landscapes, portraits, night scenes, and more.
Sweep Panorama: Pan the camera smoothly in one direction and it stitches a wide panoramic image automatically. Works best with a steady, level sweep.
Movie Mode: Optimized settings for video recording.
Autofocus System
The A6000’s autofocus is fast. The hybrid system combines 179 phase-detection points with 25 contrast-detection points, covering almost the entire frame. In good light, the camera locks focus in about 0.06 seconds.
Focus Modes
AF-S (Single-shot): Focus locks when you half-press the shutter. Use for still subjects.
AF-C (Continuous): Focus tracks continuously. Use for anything that moves. Engage it by half-pressing and holding the shutter button.
DMF (Direct Manual Focus): Autofocuses first, then lets you fine-tune with the lens ring.
MF (Manual Focus): Fully manual. Pair with focus peaking (Settings > Peaking Level > Mid) for accurate results with manual lenses.
Focus Area Settings
Wide: The camera picks the focus point automatically. Works well when there’s one obvious subject.
Zone: Limits autofocus to a section of the frame that you choose.
Center: Locks focus to the center of the screen. Useful for focus-and-recompose technique.
Flexible Spot: You position a single focus point anywhere in the frame using the control wheel. This gives you the most precise control over where the camera focuses.
Lock-on AF: Select a subject and the camera tracks it around the frame. Combined with AF-C, this is great for pets, kids, and sports.
Burst Shooting
The A6000 fires at 11 frames per second in continuous shooting mode, which is remarkably fast for a camera at this price. To enable it, press the left side of the control wheel (Drive Mode) and select Continuous Shooting: Hi.
At 11 fps, the buffer fills up after about 22 RAW files or 49 JPEGs. Once the buffer fills, the camera slows down until it finishes writing to the card. A faster SD card helps here.
Video Recording
The A6000 records Full HD 1080p at 60, 30, and 24 fps. It doesn’t shoot 4K, but the 1080p footage is sharp and detailed with good autofocus tracking during recording.
For video settings, go to Camera Settings > Movie > Record Setting and pick AVCHD or MP4. AVCHD at 60p gives the smoothest motion. MP4 files are easier to edit on most computers.
The built-in mic records stereo audio, but it picks up handling noise easily. An external mic plugged into the 3.5mm input (available via the Multi Interface Shoe with an adapter on some setups) improves audio quality significantly.
Wi-Fi and NFC Transfer
The A6000 has built-in Wi-Fi and NFC for transferring photos to your phone. Download Sony’s transfer app on your phone, then go to the camera’s Menu > Wireless > Send to Smartphone. You can select images to transfer, or set it up to send photos automatically as you shoot.
NFC makes the connection even easier. If your phone supports NFC, just touch it to the NFC logo on the camera body and the connection is established automatically.
Transfer speeds are reasonable for JPEGs but slow for RAW files. Most people transfer the JPEGs for social media and pull the RAW files from the card later for serious editing.
Customizing Buttons and Function Menu
The A6000 has several buttons you can reassign to functions you use often. Go to Menu > Custom Settings > Custom Key Settings. The C1 and C2 buttons on the top and back of the camera are the most accessible.
Popular assignments: Eye AF on the center button, ISO on C1, White Balance on C2, and Focus Magnifier on the AEL button. The Fn (Function) menu also lets you build a quick-access toolbar with up to 12 settings. Customize this so you can reach ISO, drive mode, focus mode, metering, and creative style without opening the main menu.
Tips for Better Photos
Portraits
Set Focus Mode to AF-S and focus area to Flexible Spot aimed at the subject’s eye. Turn on Face Detection in the Camera Settings menu. If you have a lens that opens to f/1.8 or f/2.8, the background blur you get from the APS-C sensor is very pleasing.
Landscapes
Stick with AF-S, set aperture between f/8 and f/11 for maximum sharpness, and keep ISO at 100. A small tripod helps, and the 2-second self-timer prevents shake from pressing the shutter button.
Moving Subjects
Switch to AF-C with Wide or Zone focus area. Set Drive Mode to Continuous Hi (11 fps). Use Shutter Priority mode with a speed of at least 1/500 to freeze motion. For really fast action, push it to 1/1000 or higher.
Low Light
The A6000 handles ISO up to about 3200 before noise becomes noticeable. Open the aperture wide, slow down the shutter speed (but watch for motion blur), and let Auto ISO do its thing. If you’re using a tripod, turn off SteadyShot to avoid micro-vibrations from the stabilization motor.
Food Photography
Shoot in well-lit conditions but avoid harsh direct light. Natural window light from the side gives food photos a warm, appealing look. Use Aperture Priority at f/2.8 to f/4 to get a shallow depth of field that makes the dish pop against a blurred background.
Final Thoughts
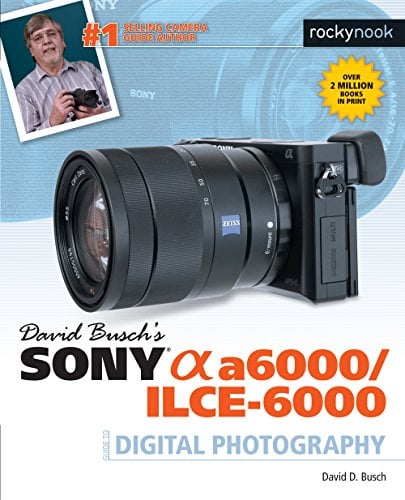
The Sony A6000 punches well above its weight. The autofocus is fast, burst shooting is blazing, and the image quality from that 24.3MP sensor holds up even in 2026. Its compact size makes it a natural travel companion, and the E-mount lens ecosystem gives you plenty of room to grow.
Spend an hour setting up your custom buttons and function menu, and this camera will feel like an extension of your hand.
See Also