When you purchase through links on our site, we may earn an affiliate commission. Here’s how it works.
The Canon PowerShot ELPH 180 is known for being genuinely easy to use. But if you’re having trouble getting started, it helps to know what this little camera can actually do.
It packs an 8x optical zoom lens and a 20-megapixel CCD sensor, which means it takes impressive photos even when the lighting isn’t ideal. You also get smooth 720p HD video recording along with Smart Auto mode, Eco mode, and various scene modes that help stretch your battery life.
If you’re still running into issues with operation or handling, the steps below should clear things up.
Initial Preparations
First, attach the wrist strap. Thread the end of the strap through the strap mount, then gently pull it through. Wrap the strap around your wrist to keep the camera secure while shooting. Keep your arms close to your body for steadier shots.
Charging
Make sure the battery pack is charged before you start. Insert the battery, then charge it using the included charger. Once fully charged, disconnect the charger and remove the battery pack.
A full charge takes roughly two hours and gives you about 210 shots, depending on how much you use the LCD screen and flash. If you plan on a long day of shooting, consider picking up a second battery so you can swap when the first one dies. Third-party NB-11LH compatible batteries are easy to find online and cost very little.
Inserting the Memory Card
The ELPH 180 uses SD, SDHC, and SDXC memory cards. Open the battery and card cover on the bottom of the camera and slide the card in until it clicks. A 16GB card will hold around 3,000 photos at full resolution, which is plenty for a day trip. For video recording, a 32GB card is a better choice since 720p clips eat through storage faster than you might expect.
Using the Camera
Shooting in Auto Mode
- Press the power button to turn on the camera and bring up the startup screen.
- Switch into auto mode.
- Point the camera at your subject. You’ll hear a clicking sound from the camera.
- The screen icon appears on the main menu.
- Compose your shot. To zoom in, push the zoom lever toward the telephoto symbol. To zoom out, push it toward the wide-angle symbol.
- Press the shutter button halfway to lock focus. You’ll hear a beep when focus is set.
- Press the shutter button all the way down to take the photo. Hold still until the shutter sound stops. After the image previews on screen, the camera returns to the shooting screen.
Smart Auto mode works well in most conditions. The camera reads the scene and adjusts white balance, ISO, and exposure on its own. This is the easiest way to get good-looking shots without touching any manual settings.
Using Scene Modes for Better Results
Beyond auto mode, the ELPH 180 has several scene modes that adjust settings for specific situations.
Portrait mode softens the background slightly and optimizes skin tones. It works best when your subject is about three to six feet away.
Snow mode compensates for bright, reflective surfaces so your photos do not end up looking gray and underexposed. It is also handy at the beach or in any high-glare setting.
Low Light mode increases the ISO and adjusts shutter speed so you can still get usable photos when you are indoors or shooting at dusk. Expect a bit more grain in these shots, but the trade-off is worth it compared to a dark, blurry image.
Fireworks mode slows down the shutter speed to capture bursts of light. You will want to set the camera on a flat surface or a mini tripod since any hand movement will blur the photo.
Recording Movies
Press the movie button to start recording. You’ll hear a beep confirming that recording has begun.
The recording symbol and a timer will show on screen. You might notice black bars at the top and bottom of the frame. Frames around detected faces show where the camera is focusing.
Press the movie button again to stop recording. Two beeps signal that the recording has ended.
Keep in mind that the ELPH 180 records at 720p, not 1080p. For casual home videos, family events, and social media clips, the quality is perfectly fine. Just make sure you shoot in well-lit areas when possible, since the small sensor produces better video when there is plenty of light.
Using the Flash
The built-in flash fires automatically in low-light situations when you are in Auto mode. You can also manually control the flash by pressing the right arrow button on the back of the camera and cycling through the options: Auto, On, Slow Synchro, and Off.
Slow Synchro is a useful option for night portraits. It combines a slower shutter speed with the flash, so both your subject and the background are properly exposed. Without it, the flash lights up your subject but the background goes dark.
If you are shooting close-up photos of food, products, or small objects, turn the flash off entirely. At close range, the flash tends to wash out details and create harsh shadows.
Viewing Images
To review your photos, press the Playback button to switch to playback mode. Use the previous/next controls or other navigation buttons to browse through your images.
You can zoom into any photo by pushing the zoom lever toward the telephoto position during playback. This is useful for checking whether your focus was sharp before you pack up and leave a location.
To delete a photo, press the trash can button while viewing it, then confirm the deletion. Be selective about what you delete on camera though, since deleted photos cannot be recovered.
Transferring Photos to Your Computer
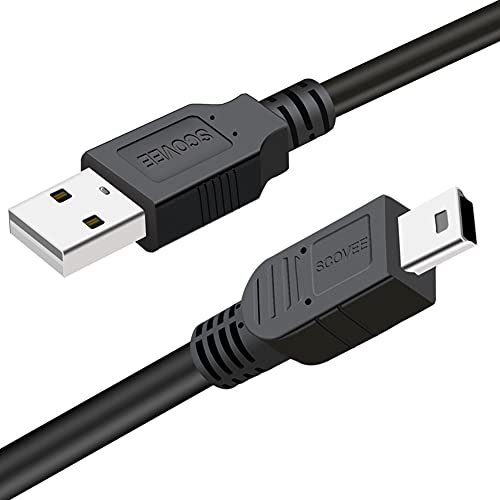
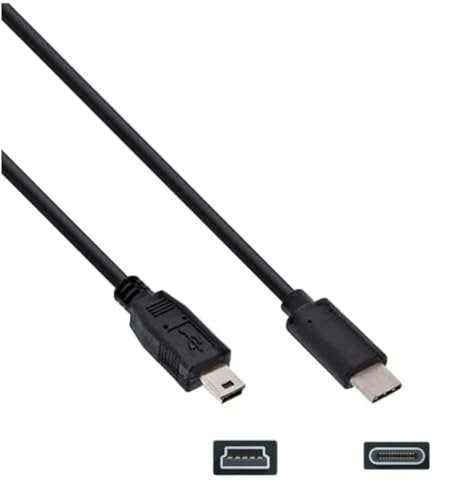
Connect the ELPH 180 to your computer with the included USB cable. Turn the camera on, and your computer should recognize it as a removable storage device. From there, you can copy photos and videos to any folder on your hard drive.
If you prefer a wireless workflow, remove the memory card from the camera and pop it into a card reader plugged into your computer’s USB port. Card readers are generally faster than the direct USB cable connection, especially if you have dozens or hundreds of files to move.
Controlling Other Features
Adjusting shooting and playback modes is straightforward on this camera. Take advantage of the power saver options to conserve battery when you’re not actively shooting.
To focus with the shutter button, press it halfway first, then press fully from that halfway position. To check whether shutter sounds are enabled, go to the function menu and look under function settings.
Bottom Line on How to Use Canon PowerShot ELPH 180
The Canon PowerShot ELPH 180 is one of the best point-and-shoot cameras you can buy for everyday photography. It keeps things simple without sacrificing the features that matter. In 2026 it remains a reliable, budget-friendly option for anyone who wants a dedicated camera that fits in a pocket.
Once you spend a little time with it, the features become second nature. If anything trips you up along the way, come back to the steps above.
See Also
Latest Canon Powershot Cameras