How to Adjust Nikon D7200 Portrait Settings
The Nikon D7200 portrait settings you choose will determine whether your people photos look amateur or professional. The D7200 is one of the most popular APS-C DSLRs for portrait work, and it shares the same body design as its predecessor, the D7100, with some meaningful upgrades under the hood.
With the D7200, you can shoot up to 18 14-bit lossless compressed RAW images, 27 12-bit compressed RAW files, or over 100 JPEGs in a continuous burst at 6 fps (or 7 fps in 1.3x crop mode). The ISO range extends from 100-25,600 natively, with expansion options up to ISO 51,200 and 102,400.
The 24.2 MP APS-C CMOS sensor is a slight improvement over the D7100’s 24.1 MP sensor. Paired with Picture Control 2.0, you get seven customizable image profiles including a flat mode that delivers low contrast and wide dynamic range, which is handy for post-processing portrait skin tones.
Steps for Nikon D7200 Portrait Photography
Step 1. Get to Know Your Camera
Whether you’re shooting with a DSLR, mirrorless, or film camera, every body has limits in terms of exposure, aperture, and speed control. How you work within those limits is what separates a snapshot from a portrait.
Take time to understand how the D7200’s controls work together. Try different combinations of aperture, shutter speed, and ISO in various lighting conditions. The more comfortable you are with the camera’s behavior, the faster you’ll be able to react during a portrait session when expressions and moments change quickly.
Step 2. Master White Balance
Nikon D7200 portrait settings – white balance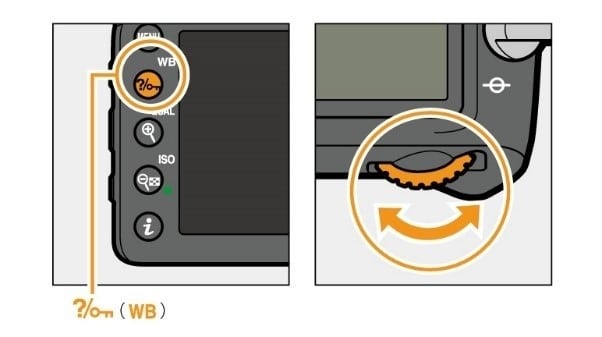
White balance (WB) is one of the most important settings to get right for portrait photography. It controls how the camera interprets color temperature, ensuring white objects actually look white in your photos rather than taking on a yellow, blue, or green color cast.
The problem is that the camera’s auto white balance can be fooled by reflected light from colored walls, green foliage, or mixed lighting sources. Auto WB can also produce inconsistent results from shot to shot during a portrait session, which makes batch editing a headache later on.
To prevent this, you have a few practical options. Use a white balance card or gray card to set a custom white balance for your specific lighting condition. You can also try white balance filters or disks that attach to your lens for quick calibration.
For more advanced control, a color checker or calibrator lets you create a custom white balance profile that’s precise to the lighting in your location. This is especially helpful in mixed lighting environments.
When natural light is limited and you need your subject to pop, try using a collapsible reflector. It bounces available light back onto your subject’s face, filling in shadows and giving skin a natural glow without adding artificial-looking flash.
Step 3. Try Black and White for Tricky Lighting
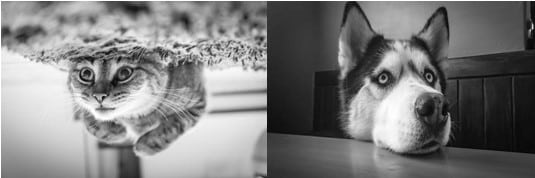
This tip is especially helpful for beginners. If you’re struggling to get good color balance in difficult lighting, converting to black and white can save the shot. Monochrome removes color distractions entirely and puts the focus squarely on your subject’s expression, posture, and the interplay of light and shadow.
Black and white portraits also have a timeless, classic quality that many clients and viewers find appealing. If you shoot in RAW (which you should), you can always revert to color later if the black and white version doesn’t work out.
Step 4. Choose the Right Lens
Your lens choice has a direct impact on how your portraits look. Different focal lengths produce different perspectives and background compression, and choosing wisely makes a noticeable difference.
A medium telephoto lens (85mm or 105mm) gives you a flattering balance between the subject and background. This is the classic portrait focal length range and produces the most natural-looking perspective for head-and-shoulder shots.
A wide-angle lens captures more of the environment around your subject. This works well for environmental portraits where the location is part of the story, but be careful not to get too close. Wide lenses distort facial features at short distances, which usually isn’t flattering.
A 70-200mm f/2.8 telephoto zoom is a versatile option for portraiture. You can zoom in tight to isolate your subject and compress the background, reducing distractions. The fast f/2.8 aperture produces beautiful background blur at any focal length within the range.
Best Lenses for Nikon D7200 Portrait Photography
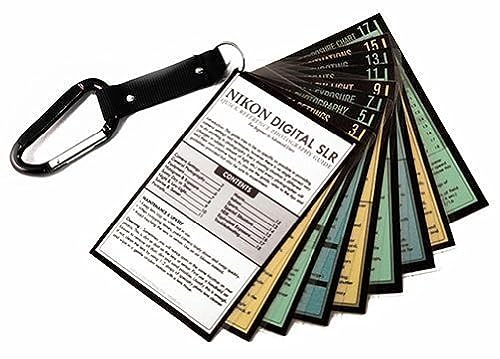


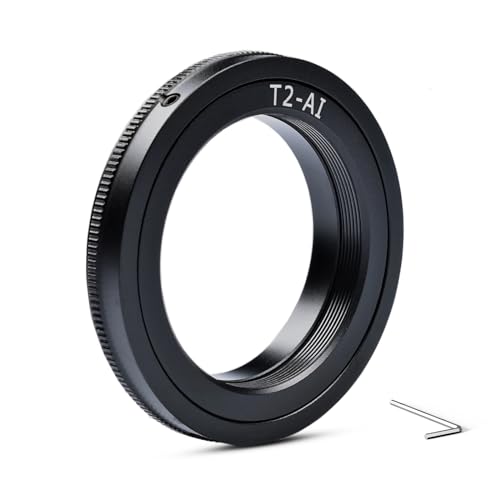
The Nikon D7200 is a great starting point for anyone getting into portrait photography. Its 24.2 MP sensor captures plenty of detail, the autofocus system tracks subjects reliably, and the wide range of compatible F-mount lenses means you can always find the right glass for the job. Keep practicing with these settings and you’ll see steady improvement in your portrait work over time.
How we verify what we publishLast checked October 10, 2026Report an error