Connecting the Nikon Z6 to Your Computer
The Nikon Z6 is a full-frame mirrorless camera that handles everything from street photography to video work. Like its higher-resolution sibling (the Z7), it comes with USB-C, Wi-Fi, and Bluetooth connectivity. Getting your photos from the camera to a computer is simple once you know the right settings and tools. Here’s how to do it on both Windows and Mac.
USB-C Connection
The fastest wired method is plugging the Z6 directly into your computer using the USB-C port on the camera.
Set the USB Mode First
Before connecting, go to the Setup Menu on the Z6 and find the USB option. Set it to MTP/PTP. This tells the camera to present itself as a media device rather than a generic USB connection. If you skip this step, your computer might not recognize the camera at all.
Windows Steps
1. Power off the Z6.
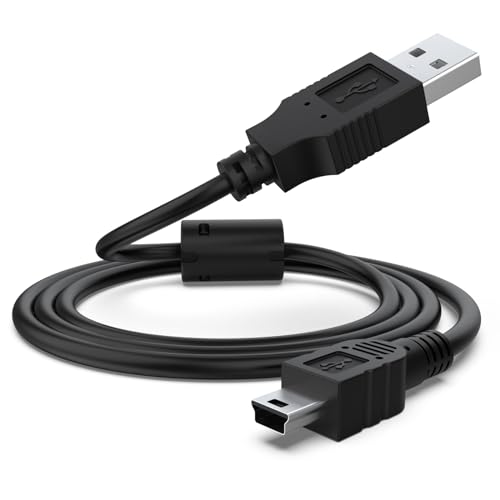
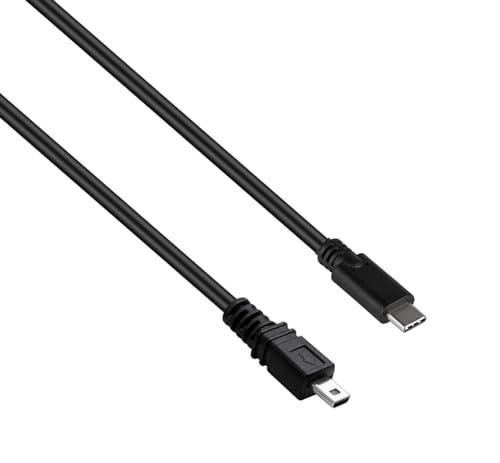
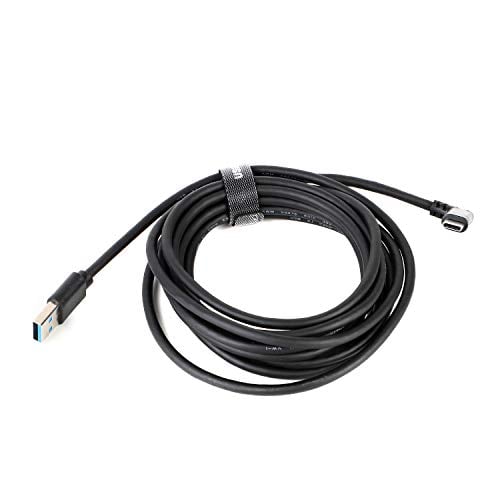
2. Connect the camera to your PC with a USB-C cable (use a USB-C to USB-A adapter cable if your PC lacks USB-C ports).
3. Turn the camera on.
4. Windows should detect the Z6 and show a notification. Open File Explorer and look for the camera under “This PC.”
5. Navigate into the DCIM folder to find your photos and videos.
You can drag and drop files directly from the camera to any folder on your hard drive. For large transfers, this is straightforward but can be a bit slow compared to a dedicated card reader.
Mac Steps
1. Power off the Z6 and connect it with a USB-C cable.
2. Turn the camera on.
3. macOS will typically offer to open Image Capture or Photos.
4. In Image Capture, select the files you want and choose a destination folder. In Photos, click Import All or select individual shots.
If you want to connect Nikon z6 to Mac for regular use, it’s worth bookmarking Nikon’s download page for the latest Mac-compatible software.
Nikon Transfer 2 and NX Studio
Nikon’s own software handles the transfer with more flexibility than a basic file browser. NX Studio is the newer all-in-one app that replaces the older ViewNX-i. It includes transfer, browsing, organizing, and editing tools.
To get started:
1. Download NX Studio from Nikon’s support website (free for both Windows and Mac).
2. Install and open the app.
3. Connect the Z6 via USB-C.
4. NX Studio will detect the camera and show a transfer dialog. You can filter by date, file type, or folder.
5. Hit Start Transfer, and NX Studio will copy the files to your chosen destination.
Nikon Transfer 2 is the standalone transfer module. It runs lighter than the full NX Studio app, which is nice if you just want to move files quickly and don’t need browsing or editing features.
SnapBridge Wireless Transfer
The Z6 has built-in Wi-Fi and Bluetooth, connected through Nikon’s SnapBridge system. The main use for SnapBridge is phone transfers (iOS and Android), where the camera can automatically send small JPEGs to your phone over Bluetooth as you shoot.
For computer transfers over Wi-Fi:
1. On the Z6, navigate to Setup Menu > Connect to PC.
2. Choose Wi-Fi and connect to your local network.
3. Open Nikon Transfer 2 or NX Studio on your computer.
4. The software should find the camera on the network.
Keep in mind that Wi-Fi is slower than a USB cable, and the Z6’s 24.5-megapixel RAW files can run 25 to 50 MB each. For transferring a handful of images after a quick session, Wi-Fi is fine. For a full day of shooting, use USB or pull the card.
Card Reader Method
The Z6 uses XQD cards in its single card slot (CFexpress Type B cards also work with a firmware update). If you have an XQD or CFexpress card reader, this is the fastest transfer option by a good margin.
1. Turn off the camera and remove the XQD card.
2. Pop it into your card reader and connect the reader to your computer.
3. The card appears as a drive in File Explorer (Windows) or Finder (Mac).
4. Copy the DCIM folder contents to your preferred location.
A USB 3.0 or USB-C card reader will transfer files noticeably faster than connecting the camera directly. This is the method most working photographers prefer, especially when dealing with big shoots. If you’re new to cameras and considering your options, check out our roundup of DSLR cameras for beginners for more entry-level recommendations.
Tethered Shooting
The Z6 supports tethered shooting, where each photo appears on your computer screen moments after you press the shutter. This is standard for studio work, product photography, and any situation where you need instant review on a larger display.
Software options for tethering:
– Camera Control Pro 2 (Nikon’s paid tethering app): Full remote control, live view, and instant image display.
– Adobe Lightroom Classic: Built-in tethered capture that saves directly into your Lightroom catalog.
– Capture One: Excellent tethering with live view and on-the-fly editing.
– digiCamControl: Free, Windows-only option that supports most Nikon cameras.
Connect the Z6 via USB-C, open your tethering software, and start shooting. The Z6 can also be used as a webcam with Nikon’s free Webcam Utility.
Troubleshooting
Camera Not Detected
The most common cause is the USB mode being set wrong. Double-check that it’s on MTP/PTP in the Setup Menu. Also try a different USB cable. Not all USB-C cables support data transfer, and a cable that only handles charging won’t let the computer see the camera.
Drivers on Windows
Windows 10 and 11 generally install the right drivers automatically. If the Z6 still doesn’t show up, open Device Manager and look for any devices with a yellow warning icon. Right-click the device and select Update Driver. You can also try downloading the latest USB driver from Nikon’s support page.
Mac Permissions
Starting with macOS Ventura, the system asks for permission before apps can access removable devices. If you dismissed the prompt or declined it earlier, go to System Settings > Privacy & Security and look under Files and Folders or Removable Media. Make sure your photo app has access.
Intermittent Disconnections
If the camera connects but keeps dropping, check the battery level. A low battery can cause the Z6 to shut down the USB connection. Use a fully charged battery or, for studio sessions, plug in the EH-7P charging adapter to keep the camera powered while connected.