3 Ways to Connect a CCTV Camera to a TV Without a DVR
A DVR is the standard way to record and display CCTV footage, but you do not always need one. Maybe your DVR died and you want to keep monitoring while you shop for a replacement. Maybe you only have one camera and just want a live feed on a TV screen without the cost of a full recording system. Or maybe you are setting up a simple monitoring station for a small business, a warehouse door, or a parking area.
Whatever the reason, you can connect a CCTV camera directly to a TV. The method depends on whether your camera is analog (BNC output) or digital (IP/network camera). Let’s cover three approaches.
Method 1: BNC-to-HDMI Converter (For Analog Cameras)
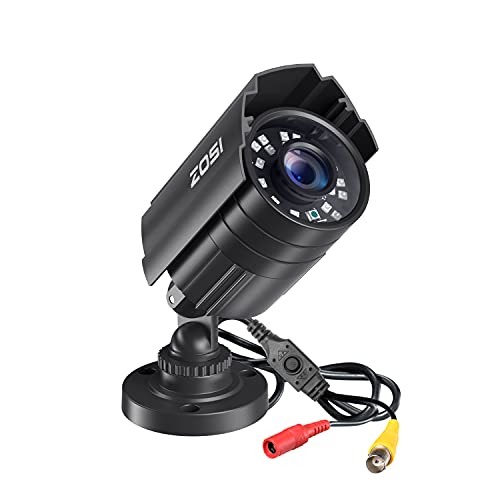
This is the easiest way to get an analog CCTV camera on a modern TV. Analog cameras output video through a BNC connector, and modern TVs accept HDMI. A BNC-to-HDMI converter box sits between the two and translates the signal.
What You Need
– Your analog CCTV camera (already powered and working)
– A BNC-to-HDMI converter box (around $15 to $30 online)
– A BNC cable long enough to run from the camera to the converter
– An HDMI cable to connect the converter to the TV
– A 5V or 12V power adapter for the converter (usually included)
Step-by-Step
1. Run a BNC cable from the camera to the location of your TV.
2. Plug the BNC cable into the input port on the converter box.
3. Connect an HDMI cable from the converter’s output to an open HDMI port on your TV.
4. Power on the converter.
5. Switch your TV to the correct HDMI input.
6. You should see the camera’s live feed on screen within a few seconds.
The converter simply translates the signal in real time. There is no recording happening, no hard drive, and no menu system. It is just a live view. If you want to switch between multiple cameras, you need a BNC video switcher placed before the converter, or a converter box that supports multiple BNC inputs (some do).
Image Quality Notes
Analog cameras typically output at 720p or 1080p (for TVI/AHD/CVI cameras) or much lower resolution for older CVBS cameras. The converter will upscale the image to fill your TV screen, but it cannot add detail that is not there. On a large 4K TV, a 720p analog feed will look soft. It is perfectly watchable for monitoring purposes, just do not expect sharp detail at a distance.
Method 2: Video Capture Card (For Analog or IP Cameras Via a Computer)
If you have a computer near the TV, you can use a video capture card to pull the camera feed into the computer and then display it on the TV through the computer’s HDMI output.
What You Need
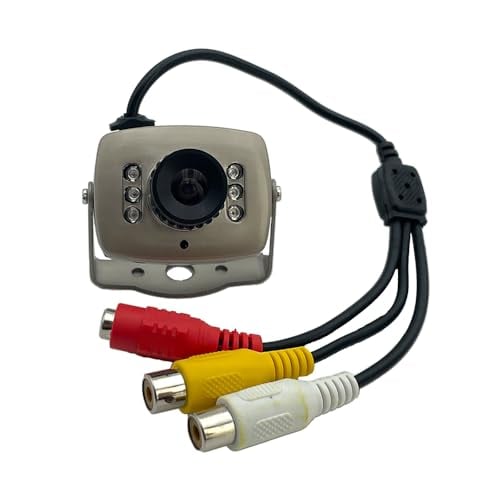
– A USB video capture card or dongle. For analog cameras, get one with a BNC or composite (RCA) input. For IP cameras, you do not need a capture card at all since the video comes over the network.
– A computer (laptop, desktop, or even a Raspberry Pi)
– An HDMI cable from the computer to the TV
– Free software like VLC Media Player or OBS Studio
Step-by-Step for Analog Cameras
1. Plug the capture card into a USB port on the computer.
2. Connect the camera’s BNC output to the capture card’s input (you may need a BNC-to-RCA adapter if the card uses composite).
3. Open VLC on the computer. Go to Media, then Open Capture Device. Select the capture card as the video source.
4. You should see the camera feed in VLC. Press F11 to go full screen.
5. Connect the computer to the TV via HDMI and either mirror or extend the display.
Step-by-Step for IP Cameras
1. Connect the computer to the same network as the IP camera.
2. Find the camera’s IP address (check your router’s device list or use the camera’s mobile app).
3. Open VLC. Go to Media, then Open Network Stream. Enter the camera’s RTSP URL, which usually looks something like rtsp://192.168.1.100:554/stream1. Check the camera’s documentation for the exact format.
4. The live feed appears in VLC. Full-screen it and output to the TV.
Pros and Cons
Pros: Very flexible. You can view multiple cameras in a grid using software like iSpy or Blue Iris. You can also record to the computer’s hard drive, giving you basic DVR functionality without buying a DVR.
Cons: Requires a computer running at all times. Uses more electricity than a simple converter box. Setup is more technical.
Method 3: IP Camera with a Smart TV App
If your camera is an IP camera or a modern Wi-Fi camera, and your TV runs a smart TV platform like Samsung Tizen, LG webOS, Google TV, or Roku, you may be able to view the camera directly on the TV through an app.
How It Works
Many camera brands have apps available in smart TV app stores. For example:
– Google Nest cameras can display on Google TV and Chromecast devices.
– Ring cameras work on Amazon Fire TV and some Samsung TVs.
– Arlo cameras have an Apple TV app.
– Reolink and TP-Link Tapo cameras can be viewed through third-party apps like TinyCam on Android TV.
If there is no official app for your camera brand, generic RTSP viewer apps (like IP Camera Viewer or ONVIF-compatible apps) can sometimes connect to the camera’s stream directly.
Step-by-Step
1. Make sure the camera and the smart TV are on the same Wi-Fi network.
2. Search the TV’s app store for your camera brand’s app, or search for a generic RTSP or ONVIF viewer.
3. Install the app and log in with the same account you use on your phone.
4. Select the camera you want to view. The live feed should appear.
Pros and Cons
Pros: No extra hardware at all. Clean setup. Some apps support viewing multiple cameras at once.
Cons: Only works with IP/Wi-Fi cameras, not analog. App availability depends on your TV platform. Some apps have a slight delay of 2 to 5 seconds on the live feed.
When Does This Setup Make Sense?
Connecting a CCTV camera directly to a TV is not a replacement for a proper DVR or NVR system if you need to record footage, review events, or manage multiple cameras. But it works well in specific situations:
Single-camera monitoring: A small shop owner who just wants a live view of the entrance on a TV behind the counter.
Temporary setups: Construction sites, events, or pop-up shops where you need a live view but do not want to invest in a full system.
DVR failure: Your recorder died and you need to keep monitoring while waiting for a replacement.
Baby monitors and door cameras: Pulling a nursery camera or doorbell camera feed onto a living room TV for convenience.
For anything more complex, like recording 24/7, managing multiple camera angles, or reviewing footage after the fact, you will want a DVR, NVR, or at least a computer running recording software.