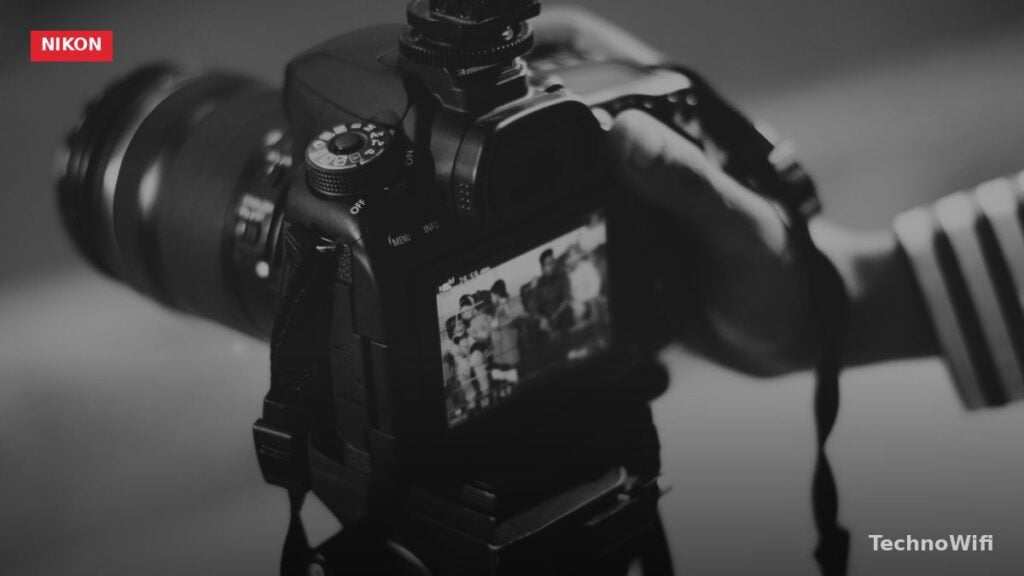
The Nikon D3500 remains a favorite entry-level DSLR in 2026, and one of the most common questions from new owners is how to get good results after dark. Nikon D3500 night photography can produce genuinely impressive images once you move past auto mode and take control of the camera’s manual settings. The sensor handles low light better than you might expect from a beginner body, and a few deliberate adjustments to aperture, ISO, and shutter speed are all it takes to start capturing sharp, detailed shots at night.
If you have been disappointed by blurry, noisy, or underexposed results when shooting after sunset, the tips below will walk you through exactly what to change and why it matters.
Why Manual Mode Matters for Nikon D3500 Night Photography
Shooting at night in Auto mode puts the D3500 in a tough spot. The camera’s metering system sees a mostly dark scene and struggles to pick the right combination of aperture, ISO, and shutter speed. The result is usually one of two things: either the built-in flash fires and washes out everything in the foreground while leaving the background pitch black, or the camera jacks up the ISO so high that the image drowns in grain.
Switching to Manual mode (the “M” on the mode dial) lets you set each parameter yourself. This gives you full control over how much light reaches the sensor and how long the shutter stays open. It takes a few minutes to learn, but it is the single biggest improvement you can make for night shooting.
Aperture Settings for Night Shots
Open the aperture as wide as your lens allows. A wider aperture (lower f-number) lets more light hit the sensor, which is exactly what you need in dark conditions. If you are using the kit 18-55mm lens, the widest you can go is f/3.5 at 18mm. That works, but a faster prime lens like a 35mm f/1.8 will let in significantly more light and give you sharper results. The difference between f/3.5 and f/1.8 is roughly two full stops of light, which is a big deal when every photon counts.
ISO Settings for Night Photography
Start with ISO 800 and adjust from there based on how bright or dark the scene is. In areas with some ambient light, like a lit street or a park near city lights, ISO 800 paired with a wide aperture and a moderate shutter speed will get you clean results. In darker locations, push the ISO to 1600 or even 3200.
Keep in mind that higher ISO values introduce more noise (grain) into the image. The D3500’s sensor handles noise reasonably well up to ISO 1600. Above 3200, the grain becomes noticeable, especially in shadow areas. Noise reduction in Lightroom or similar software can clean up some of that grain in post-processing, but it is better to keep the ISO as low as you can while still getting a properly exposed image.
Our article on DSLR cameras for beginners covers related ground and is worth a look.
Shutter Speed for Low-Light Conditions
Shutter speed is where night photography gets interesting. When the scene is dark, you need to keep the shutter open longer so the sensor can gather enough light. For static subjects like buildings, landscapes, or the night sky, shutter speeds of 5, 10, or even 30 seconds are common.
At these long exposures, any camera movement will produce blurry images. That is why a tripod is not optional for night photography (more on that below). If you are shooting handheld for any reason, try to stay at 1/30 second or faster, and brace the camera against a solid surface.
For moving subjects like car light trails, waterfalls under moonlight, or people walking through a lit area, you will need to experiment. A 2 to 5 second exposure turns car headlights into smooth streaks of light. A 15 to 30 second exposure turns a busy intersection into rivers of color.
Accessories That Make a Difference
Tripod
A tripod is the single most important accessory for Nikon D3500 night photography. Long shutter speeds and handheld shooting do not mix. Even the steadiest hands introduce micro-vibrations that show up as blur at exposures longer than about 1/30 second. A basic tripod in the $30 to $60 range is fine for the D3500 since the body is lightweight. Look for one that feels stable when you press down on it and has a head that locks firmly without creeping.
Use the D3500’s self-timer (set it to 2 seconds) or a remote shutter release to trigger the shot. Pressing the shutter button by hand introduces vibration even when the camera is on a tripod.
Lenses for Night Photography
The kit lens will get you started, but a fast prime makes a real difference. The Nikon AF-S 35mm f/1.8G DX is one of the best budget lenses for the D3500. It costs around $150 to $200 and opens up to f/1.8, which lets in far more light than the kit lens can manage. It is also tack-sharp and lightweight.
If you want to photograph the night sky or star trails, consider a wider lens with a fast aperture. Something in the 10-20mm range at f/2.8 or wider is ideal. The Tokina 11-16mm f/2.8 and the Rokinon 14mm f/2.8 are both popular choices among astrophotography enthusiasts shooting on crop-sensor Nikon bodies like the D3500.
We put together a full guide on Nikon camera deals that pairs well with this.
Using Bulb Mode on the D3500
The D3500’s manual mode tops out at a 30-second shutter speed. For exposures longer than that, you need Bulb mode. In Bulb mode, the shutter stays open as long as you hold down the shutter button (or remote release), letting you expose for minutes at a time.
To access Bulb mode on the D3500, set the mode dial to M and scroll the shutter speed past 30 seconds. You will see “Bulb” appear on the display. A remote shutter release is basically required here, because holding the shutter button with your finger for minutes straight will shake the camera.
Bulb mode is perfect for star trail photography, where exposures of 10 to 30 minutes capture the rotation of the stars across the sky. It also works well for capturing lightning strikes during storms, light painting with flashlights or sparklers, and any creative effect that needs an exposure longer than half a minute.
Practical Tips for Better Night Shots
Take your time. Night photography rewards patience. Arrive at your location while there is still a bit of light in the sky so you can compose your shots and set up your tripod before it gets fully dark. The blue hour, that 20 to 40 minute window right after sunset, often produces the most striking night images because you still have color in the sky mixed with the warm glow of city lights.
Shoot in RAW format rather than JPEG. RAW files give you much more room to adjust exposure, white balance, and noise reduction in post-processing. Night shots often need more editing than daytime images, and RAW files hold up much better under heavy adjustments.
Use manual focus instead of autofocus. The D3500’s autofocus system struggles in very low light because it needs contrast to lock on. Switch to manual focus, use Live View zoomed in to 100%, and focus on a bright point like a distant streetlight or the moon. Once you have focus locked, do not touch the focus ring again unless you change your composition.
Turn off in-camera noise reduction for long exposures if you are shooting RAW. The camera’s built-in noise reduction works by taking a second “dark frame” exposure of equal length after every shot, which doubles your wait time. You will get better results handling noise reduction yourself in Lightroom or another editing tool.
Experiment with different white balance settings. Auto white balance can produce unpredictable colors at night because the mix of artificial light sources confuses the camera. Try the Tungsten preset (around 3200K) for scenes lit by incandescent bulbs, or the Fluorescent preset for areas under fluorescent or LED lighting. Or shoot RAW and fix it in post.
Wrapping Up
Whether you are a beginner or someone looking to push the D3500 further, these adjustments and gear choices can dramatically improve your Nikon D3500 night photography. The camera is more capable in low light than many people give it credit for. Start with manual mode, invest in a tripod and a fast prime lens, and give yourself permission to experiment. The best night photos come from photographers who are willing to try different settings, review the results on the LCD, and adjust on the fly.