The Nikon D5600 for Landscape Work
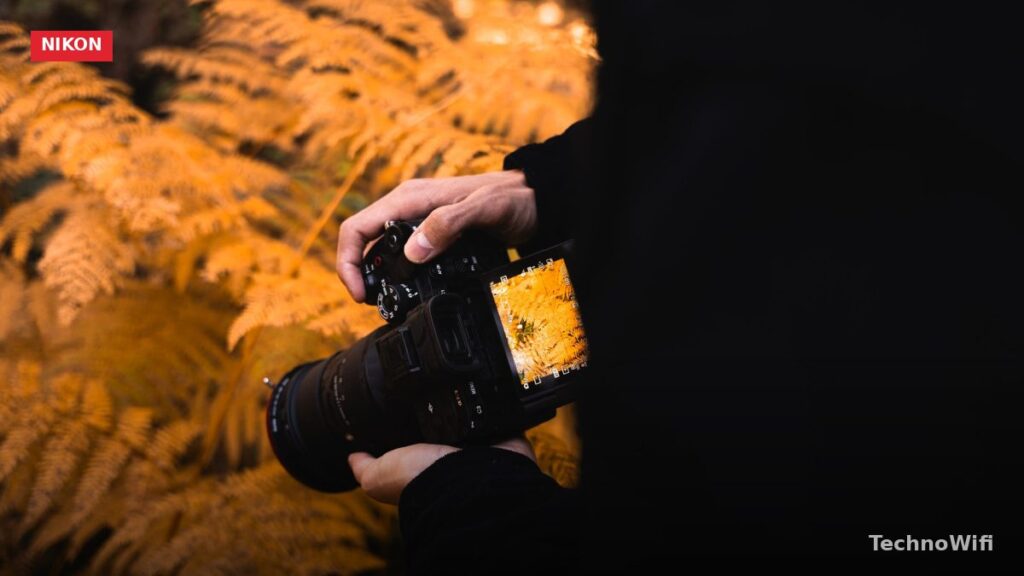
The Nikon D5600 is a 24.2-megapixel DX-format DSLR with features that match up well to landscape photography. Its EXPEED 4 processor handles noise well at low ISO, the 39-point autofocus system is accurate for static subjects, and the vari-angle touchscreen lets you compose from ground level without getting dirt on your clothes. Add SnapBridge for wireless image transfer and you can share shots from the field.
What makes the D5600 especially suited for landscapes is its strong image quality at ISO 100, solid dynamic range for recovering shadows, and compatibility with some excellent Nikon DX wide-angle lenses. Here’s how to dial it in for your best landscape results.
Camera Mode and Exposure Settings
Aperture Priority (A) Mode
Turn the mode dial to A. You control the aperture and the camera sets the shutter speed. For landscape shots, set your aperture to f/8 for the sharpest results from the kit lens, or f/11 when you need a little more depth of field. Most Nikon DX lenses hit peak sharpness between f/5.6 and f/8, so that range is your target.
Avoid f/16 and beyond unless you specifically need maximum depth of field for a very close foreground element. Diffraction starts softening the image past f/11 on this sensor.
ISO 100
Set ISO to 100 and leave it there for tripod work. The D5600’s sensor produces its cleanest, most detailed files at base ISO. The dynamic range is also widest at ISO 100, which means you have the most room to push shadows and pull highlights in post-processing.
Matrix Metering
Use Matrix metering, which is Nikon’s version of evaluative metering. It reads the entire frame, compares the scene to a database of common patterns, and sets a balanced exposure. It handles most landscape situations well. For tricky lighting like a bright sunrise or heavy backlight, use Exposure Compensation to dial down by -0.3 to -1.0 stops to protect the sky.
Focusing for Landscapes
Live View with Touch AF
For landscapes on a tripod, switch to Live View and use the touchscreen to tap exactly where you want the camera to focus. This is more precise than the optical viewfinder’s 39-point AF system because you can place the focus point anywhere in the frame, not just on one of the 39 fixed positions.
Tap the magnify button to zoom in 5x or 10x on your focus area, confirm sharpness, then shoot. This technique catches soft focus before you pack up and leave.
Manual Focus Option
Switch the lens to M (manual focus) and turn the focus ring while using Live View magnification. This gives you total control, which is especially useful when autofocus hunts in low-contrast scenes like fog, snow, or overcast skies.
Vibration Reduction and Tripod Use
Turn VR Off on a Tripod
If your lens has a VR (Vibration Reduction) switch, turn it off when the camera is mounted on a tripod. VR systems can actually create small vibrations when the camera is already stable, which leads to slightly soft images. It sounds backward, but it’s a well-documented issue. Keep VR on for handheld shooting, off for tripod work.
Self-Timer or Remote
Set the self-timer to 2 seconds in the shooting menu. This gives any vibration from pressing the shutter button time to settle before the exposure fires. A wireless remote or the SnapBridge app also works for hands-free triggering.
Lens Choices for Landscapes
The 18-55mm Kit Lens
The AF-P DX Nikkor 18-55mm f/3.5-5.6G VR kit lens is a solid starting point. At 18mm (27mm equivalent), it captures a reasonably wide view. Sharpness is good at f/8 across the frame. For casual landscape work and travel, it does the job well.
Ultra-Wide: AF-P DX 10-20mm
For dramatic wide-angle perspectives with sweeping foregrounds and expansive skies, the AF-P DX Nikkor 10-20mm f/4.5-5.6G VR is hard to beat at its price point. At 10mm (15mm equivalent), the field of view is enormous. This lens is lightweight, has VR, and produces sharp images when stopped down to f/8. It’s the natural upgrade for landscape shooters using the Nikon D5600.
Composition Techniques
Rule of Thirds and Grid
Enable the grid overlay in the D5600’s display settings (Custom Setting d6). Place your horizon along the top or bottom third line. Position focal points like trees, buildings, or mountain peaks at the grid intersections. Avoid splitting the frame in half with a centered horizon unless a reflection demands it.
Foreground Interest
Get low and include a textured foreground element. Rocks, wildflowers, driftwood, or a stream bank in the lower third of the frame add depth and dimension. Without foreground interest, wide-angle shots can feel flat and empty.
Leading Lines
Rivers, trails, fence lines, and road edges naturally draw the viewer’s eye through the frame. Angle these elements so they start near the bottom corner and flow toward the background or main subject.
Golden Hour Shooting
The best landscape light comes in the first 60 minutes after sunrise and the last 60 minutes before sunset. The D5600’s vari-angle screen makes it easy to shoot from very low angles during golden hour, catching foreground details lit by warm, raking light. Set white balance to Cloudy during golden hour to enhance the warm tones, or shoot RAW and fine-tune it later.
Long Exposure with ND Filters
For silky water and streaking clouds, switch to Manual mode (M). Set ISO 100, aperture to f/11, and attach a neutral density (ND) filter to cut the light. A 6-stop ND filter turns a 1/30 second exposure into roughly 1 second. A 10-stop filter extends it to about 30 seconds.
The D5600 offers shutter speeds up to 30 seconds plus Bulb mode for longer exposures. Use a remote release in Bulb mode to control exactly when the shutter opens and closes.
Active D-Lighting and Bracketing
Active D-Lighting
This Nikon feature brightens shadows and tones down highlights in-camera. Set it to Normal or High for high-contrast scenes. It’s applied to JPEG files only. RAW shooters can achieve the same effect with more control in post-processing.
Exposure Bracketing
Press the BKT button and set a 3-frame bracket at +/- 2 EV. The camera fires three shots: normal, dark, and bright. Merge them in Lightroom or Photomatix for an HDR image that captures the full range of a sunset or a dark forest with a bright sky overhead.