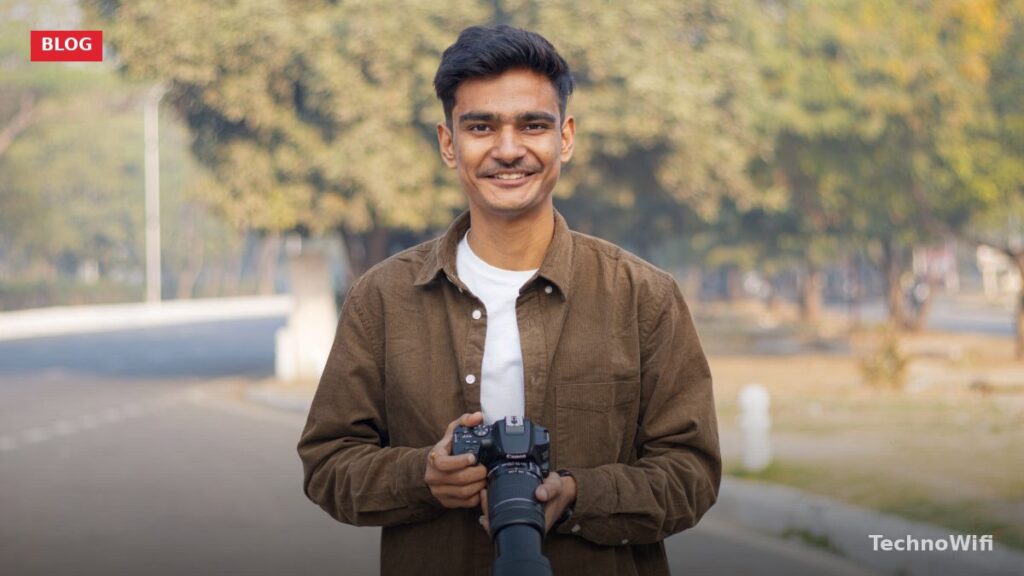
How Do You Take Good Pictures?
If you’re not a professional photographer, snapping great photos with a DSLR or mirrorless camera might look easy. But ask any pro, and they’ll tell you it took plenty of missed shots before they started nailing it consistently.
Taking good pictures is a real skill. You’ve got to pick the right subject, clean up distracting backgrounds, find the best natural light, and nail your focus. It’s a lot to juggle.
If you’re working on your photography game, learning these basics helps you look good at social events and can open doors to paid work. The better your portfolio looks, the easier it is to land clients.
Here are seven tips from the pros to help you figure out how do you take good pictures. Let’s get into it.
Make Sure Your Camera Gear is in Order
Before you shoot anything, check your gear. What does that actually mean? According to Henry Oji of Big H Studios, you should always make sure your camera lens (DSLR or smartphone) is clean before taking a photo.
We break down mushroom photography in a separate post that complements this one.
And if you’re working with professional cameras (DSLRs and mirrorless), don’t clean them with your shirt or a random cloth. Check out our review on the best camera lens cleaning kits to know what to use.
1. Consider The Angle of Your Shot
Angles matter a lot in photography. Instead of just pulling out your camera or phone and snapping away, take about ten seconds to think about where your shot will look best.
Professional photographer and YouTuber Peter McKinnon recommends shooting objects from waist level because you end up at the same perspective as the subject. Move around the scene and find the best angle before you commit.
2. Pick A Good Focal Point
Your focal point is the main point of interest in a photo. It can be anything, like a person’s eyes, a building, or a small detail.
So next time you want to take a photo, pause and ask yourself, “What do I want people to focus on in this image?”
3. Always Follow the Rule of Thirds
According to the NFI (Nashville Film Institute), the rule of thirds divides an image into nine equal sections using two horizontal and two vertical lines. The key is placing your subject along those lines or at the intersection points.
Put the primary element of your shot at one of those four intersection spots, and your photos will instantly look more balanced. You’ll stop accidentally framing everything like a mugshot because the foreground and background will have room to breathe.
4. Don’t Use Digital Zoom
Digital zoom is handled by your device’s software, not the actual lens. That’s a problem because it just crops and enlarges the image, which makes your photos grainy and drops the resolution.
For a different take, see our guide on street photography.
On top of that, if your hand shakes at all while shooting, the movement gets captured in the shot since there’s no optical image stabilization (OIS) to compensate.
5. Look for Ambient Natural Light Before Settling On the In-Built Camera Flash
Camera flash systems, on both smartphones and professional cameras, blast light from a single source. That makes shots look harsh with strange color shifts compared to natural ambient light.
So, don’t rely entirely on your built-in flash. Natural light almost always looks better. If you have a pro-grade camera, consider investing in a quality camera flash system to improve your results.
6. Use A Tripod
If you keep getting motion blur in your photos, it’s time to pick up a tripod. They’re one of the most useful tools a photographer can own, and these days you can find tripods built for both professional cameras and smartphones.
7. Shoot RAW
Most modern DSLRs and mirrorless cameras let you shoot in RAW format. Why bother? RAW images hold way more detail than compressed JPG or PNG files, which gives you more flexibility in editing.
Keep in mind that RAW files eat up a lot of storage space. There are also smartphones like the Sony Xperia 1 II that can shoot and process RAW images and footage if you prefer phone photography.
These seven tips are genuinely the best starting point for improving your photography. No matter what camera you’re shooting with, putting them into practice will make a noticeable difference in your results.