Using a Blackmagic Camera as a Webcam
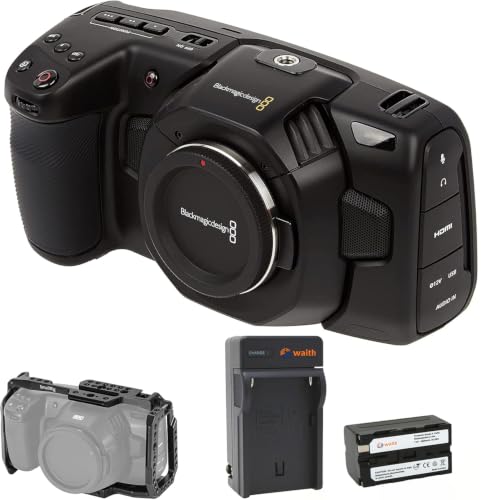
If you already own a Blackmagic camera, you’ve got a video tool that blows any standard webcam out of the water. The image quality, color science, and low-light performance of a Blackmagic camera will make your video calls and live streams look noticeably better than what even a high-end webcam can deliver.
Plenty of YouTubers and streamers have already made this switch. There are two main ways to set it up: using Blackmagic’s own Video Assist firmware update (which turns the Video Assist monitor into a USB webcam bridge), or using a third-party video capture device like the Elgato Cam Link. Both methods work well, and I’ll walk you through each one step by step.
Method 1: Using the Video Assist Monitor
What You’ll Need
To use your Blackmagic camera as a webcam through the Video Assist monitor, gather the following:
Tripod or desk mount: You’ll need something to hold both the camera and the Video Assist monitor steady. A small tabletop tripod works great for desk setups since you don’t need anything tall or heavy.
Continuous power source: The Blackmagic camera’s internal battery will drain quickly during extended video calls. Pick up a dummy battery adapter that plugs into a wall outlet. This gives you uninterrupted power so you don’t have to worry about the camera dying mid-meeting.
Video Assist Monitor: Blackmagic’s webcam firmware update works with the Video Assist 3G and Video Assist 12G HDR models. Make sure you have one of these two.
The Setup Process
- Check that your Video Assist Monitor firmware is up to date. It should update automatically, but if it hasn’t, download the latest version from the Blackmagic Design website and install it manually.
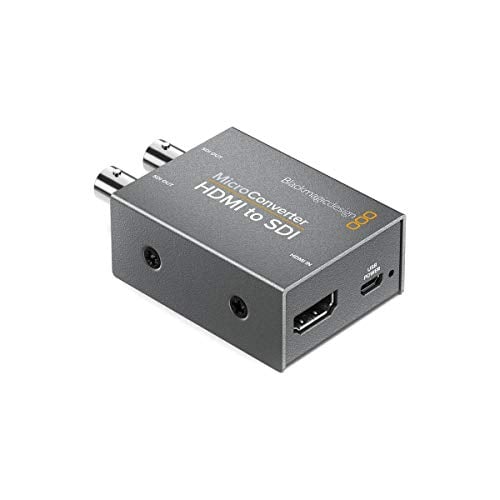
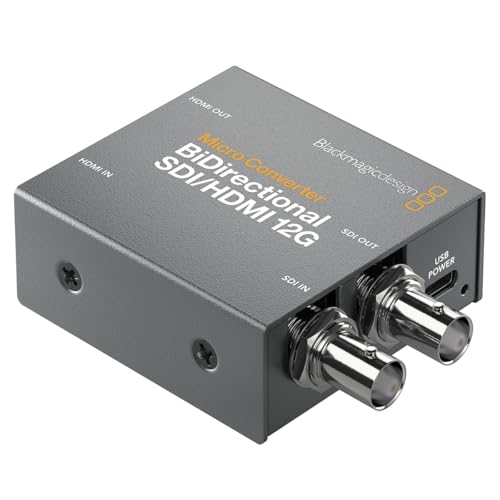
- Connect your Blackmagic camera to the Video Assist Monitor using an HDMI or SDI cable.
- Connect the Video Assist Monitor to your computer with a USB-C cable.
- Open your video conferencing app (Zoom, Skype, Google Meet, etc.) and select the Blackmagic device as your video source in the app’s settings.
That’s it. Your computer should recognize the Video Assist as a webcam source without needing any additional drivers or software.
Method 2: Using a Video Capture Device
What You’ll Need
Video capture device: A device like the Elgato Cam Link 4K takes the HDMI output from your camera and converts it into a USB signal your computer can read as a webcam feed. The Cam Link 4K is the most popular option, but alternatives from AVerMedia, Magewell, and others work too.
HDMI cable: Blackmagic cameras typically use a micro HDMI port, so you’ll need a micro HDMI to full-size HDMI cable to connect the camera to the capture device.
Tripod or mount: Same as Method 1. A small desk tripod keeps things tidy and positions the camera at the right height for video calls.
Continuous power source: Again, a dummy battery adapter is the way to go for any session longer than 30-45 minutes. Internal batteries just won’t last through a long meeting or streaming session.
The Setup Process
- Connect the dummy battery to your Blackmagic camera and plug it into a wall outlet.
- Turn on the Blackmagic camera.
- Plug the micro HDMI end of the cable into the camera’s HDMI port and the full-size end into the video capture device.
- Insert the video capture device into a USB port on your computer.
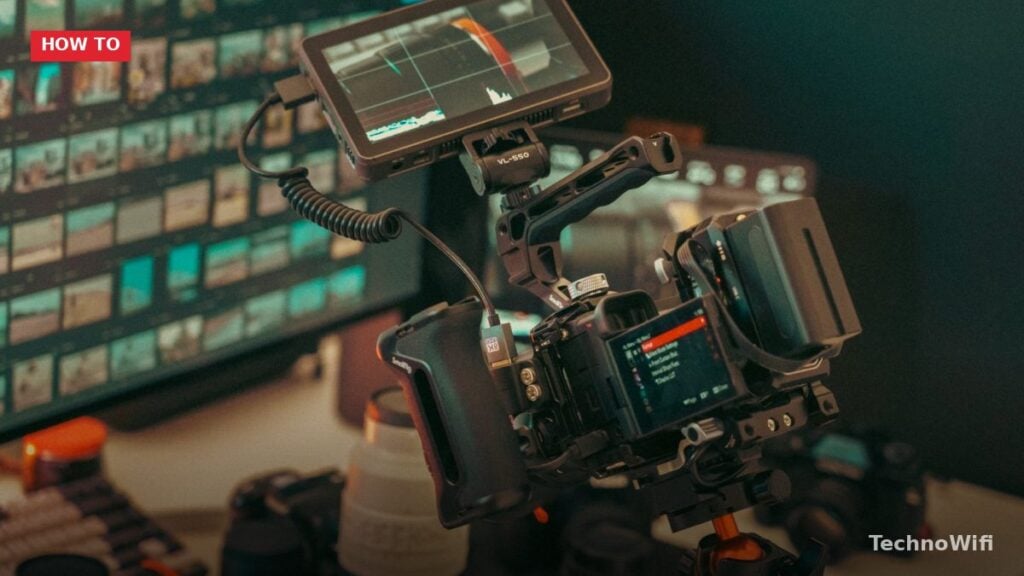
- Mount your camera on the tripod and position it at eye level, pointing toward where you’ll be sitting.
- Open your video conferencing or streaming app and select “USB Video” (or the capture device name) as your video source. Your Blackmagic camera is now working as your webcam.
Tips for the Best Results
Whichever method you choose, here are a few things that’ll help you get the most out of this setup:
Turn off any on-screen overlays or recording indicators on the camera. You don’t want timecodes or battery icons showing up in your video feed.
Set your camera to its cleanest HDMI output mode. On most Blackmagic cameras, this is in the HDMI settings menu. “Clean feed” or “clean output” sends just the image without any UI elements.
Pay attention to your lighting. A Blackmagic camera has better low-light performance than a webcam, but good lighting still makes a big difference. Even a simple ring light or desk lamp positioned in front of you will improve how you look on camera.
Final Thought
Setting up a Blackmagic camera as a webcam takes about 10 minutes, and the difference in video quality is immediately obvious. Whether you go with the Video Assist method or a capture device, you’ll get professional-grade video for your calls, streams, and recordings without buying any additional cameras.
See Also
Blackmagic Cinema Camera Live Streaming
How to Connect Blackmagic to Computer
How to Update Blackmagic Cinema Camera