Before You Start: What’s in the Box
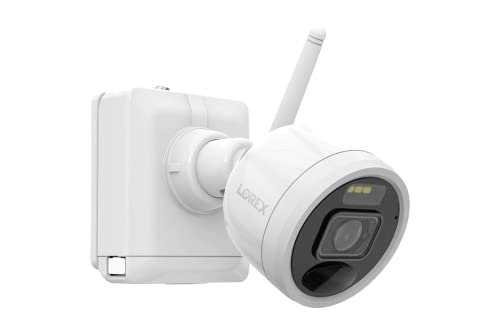
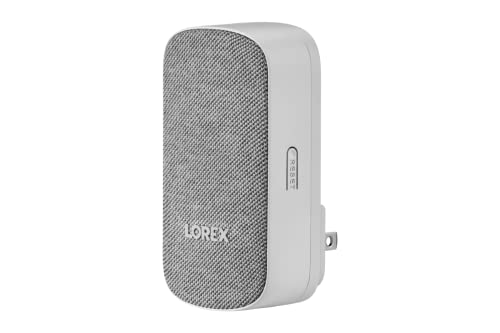
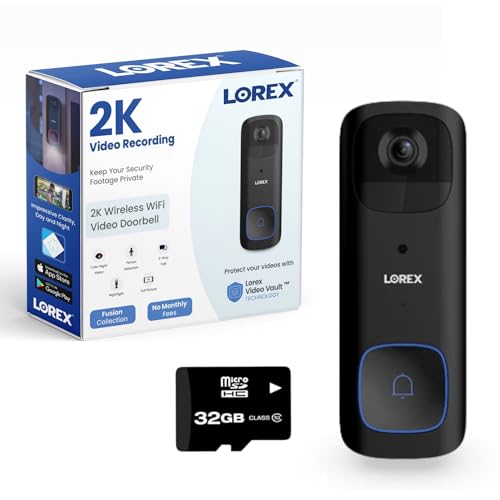
Lorex wireless cameras typically ship with the camera unit, a mounting bracket with screws and anchors, a USB charging cable, a power adapter, and a quick start guide. Some kits include a base station or NVR (network video recorder) for local storage, while standalone models connect directly to your Wi-Fi.
Before you drill any holes, take the time to set up the camera indoors, confirm it connects to your network, and test the video feed. That way you know everything works before you commit to a mounting location. If you’re wondering whether adding cameras will affect your network speed, we covered that topic in our article on whether security cameras slow down internet connections.
Charging the Camera
If your Lorex camera has a built-in rechargeable battery (common in wire-free models), charge it fully before setup. Plug the included USB cable into the camera and connect the other end to the power adapter or a USB wall charger.
Most Lorex batteries take about 4 to 6 hours for a full charge. The LED on the camera will turn solid green (or turn off, depending on the model) when charging is complete. Battery life varies by model, but expect anywhere from 2 to 6 months depending on how many motion events the camera records each day.
For wired Lorex cameras that plug into an outlet or connect to a PoE (Power over Ethernet) switch, skip this step and move straight to the app setup.
Setting Up the Lorex Home App
The Lorex Home app is available for iOS and Android and is the central hub for managing your cameras.
1. Download Lorex Home from the App Store or Google Play.
2. Create an account or sign in if you already have one.
3. Make sure your phone is connected to the 2.4GHz band of your Wi-Fi network. Most Lorex cameras don’t support 5GHz, so this step is important. If your router broadcasts a single network name for both bands, you may need to temporarily split them or stand close to the router during setup.
Adding Cameras to the System
With the app open and your camera powered on, tap the + button to add a new device.
1. Select your camera model from the list, or scan the QR code on the camera or its packaging.
2. The app will walk you through putting the camera into pairing mode. On most models, you press and hold the sync button on the camera for about 5 seconds until the LED blinks rapidly.
3. Enter your Wi-Fi network name and password when prompted.
4. The camera will connect to your network. This usually takes 30 to 60 seconds. Once connected, you’ll see a live preview in the app.
If pairing fails, check that you’re on the 2.4GHz band, that the camera and phone are close to the router, and that your Wi-Fi password is entered correctly. Special characters in passwords occasionally cause issues with some Lorex models, so keep that in mind if you run into trouble.
Wi-Fi Pairing with a Base Station or NVR
If your Lorex system came with a base station or NVR, the cameras pair to it instead of directly to your router.
1. Connect the base station or NVR to your router with an Ethernet cable.
2. Power on the base station and wait for it to boot (about 60 seconds).
3. Add the base station to the Lorex Home app using the same + button process.
4. Once the base station is registered, turn on the camera and hold the sync button. The base station will detect it and add it to the system.
The advantage of a base station setup is that camera-to-base communication happens on a dedicated frequency, so it doesn’t add traffic to your home Wi-Fi. The base station then sends the video feed to the app over your wired network connection.
Mounting and Positioning
Now that the camera is connected and working, it’s time to pick a permanent spot.
Choosing a Location
– Mount the camera 7 to 10 feet above the ground for the best field of view.
– Angle it slightly downward so it captures faces, not just the tops of heads.
– Avoid pointing the camera directly at a light source or the sun, as this can wash out the image.
– Make sure the Wi-Fi signal is strong at the mounting location. The Lorex Home app has a signal strength indicator during live view. If the signal is weak, consider a Wi-Fi extender or mesh node nearby.
Mounting Steps
1. Hold the mounting bracket against the wall or eave and mark the screw holes with a pencil.
2. Drill pilot holes and insert the plastic anchors if you’re mounting on brick, stucco, or concrete.
3. Screw the bracket into place.
4. Attach the camera to the bracket. Most Lorex brackets use a magnetic mount or a twist-lock mechanism.
5. Adjust the camera angle and check the live view in the app to confirm the framing.
Setting Up Motion Detection Zones
Motion detection is what makes a security camera useful instead of just a passive video feed. But if every passing car or blowing tree branch triggers an alert, you’ll start ignoring notifications.
In the Lorex Home app, open the camera’s settings and find Motion Detection or Activity Zones. Here you can draw rectangles on the video preview to define specific areas where motion should trigger a recording and a push notification.
For example, if your camera covers a driveway and a street, draw the activity zone only over the driveway. Cars passing on the street won’t trigger alerts, but someone walking up to your garage will.
You can also adjust motion sensitivity. Start at medium and fine-tune from there. If you get too many false alerts, lower the sensitivity. If you’re missing real events, raise it.
Recording Options: Local NVR vs. Cloud
Lorex cameras offer two main ways to store footage.
Local NVR or MicroSD Card
Many Lorex systems include an NVR with a built-in hard drive (typically 1TB or 2TB). All camera footage records to this drive automatically. You can access recordings through the Lorex Home app or by connecting a monitor directly to the NVR.
Standalone cameras without an NVR often have a microSD card slot for local storage. Insert a card (up to 256GB on most models) and the camera will record motion clips to it. You can review and download clips through the app.
Local storage means your footage stays in your home and doesn’t depend on an internet connection to save recordings.
Cloud Storage
Lorex offers cloud storage plans for an additional monthly fee. Cloud storage gives you offsite backup, so even if someone steals the camera or NVR, your footage is safe on Lorex’s servers. You can browse and download cloud clips from the app.
Night Vision and Multi-Camera Tips
Night Vision Range
Lorex wireless cameras come with infrared (IR) night vision, and some models also have color night vision using a built-in spotlight. IR night vision gives you a black-and-white image at ranges up to 100 to 150 feet depending on the model. Color night vision is usually effective to about 30 to 40 feet.
If your camera has a spotlight, you can set it to activate on motion. This doubles as a deterrent since a sudden bright light can scare off intruders.
Multi-Camera Setup
If you’re installing more than one camera, cover the most vulnerable entry points first: front door, back door, and garage. Then add cameras for secondary coverage like side gates, driveways, or backyards.
Name each camera clearly in the app (“Front Door,” “Backyard,” “Garage”) so you can tell at a glance which notification came from where. When using multiple cameras on the same Wi-Fi network, make sure your router can handle the bandwidth. Each camera streaming at 1080p uses about 2 to 4 Mbps of upload bandwidth. A router with Wi-Fi 6 handles multiple cameras better than older models.