What Is a Cloud Wi-Fi Camera?
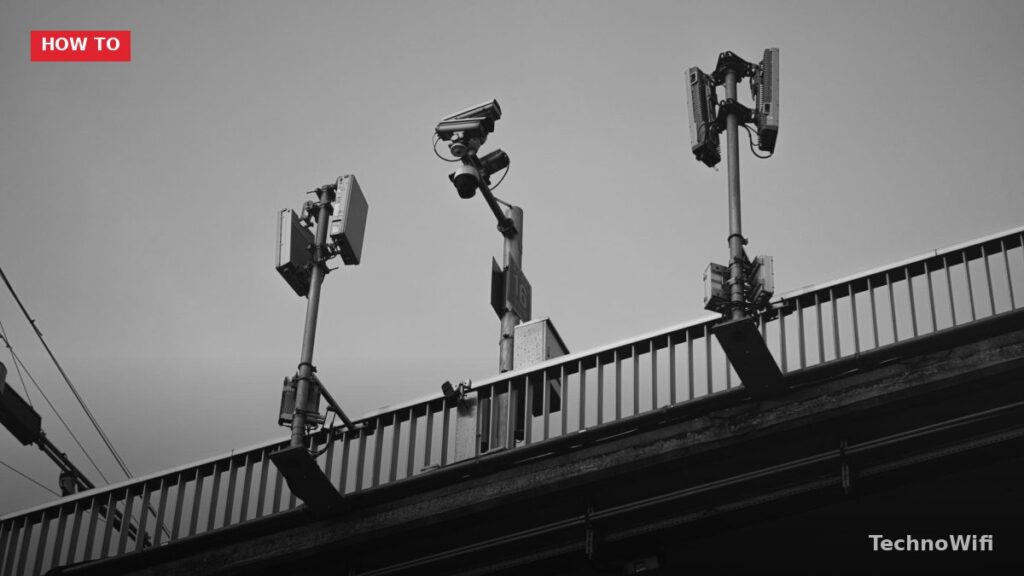
A cloud camera is a security camera that stores its footage on remote servers instead of (or in addition to) a local hard drive or SD card. When the camera detects motion or records continuously, the video gets uploaded over your Wi-Fi to the manufacturer’s cloud platform. You can then watch live feeds and review recorded clips from anywhere using a phone app or web browser.
The big advantage of cloud cameras is that even if someone steals or destroys the camera, the footage is already saved offsite. The trade-off is that you usually need a paid subscription for full cloud storage features, and the camera depends on a working internet connection to function properly.
Cloud Storage vs. Local Storage
Before picking a camera, it helps to understand the difference between the two storage approaches.
Cloud storage: Video is uploaded to servers run by the camera manufacturer (Ring, Google, Arlo, etc.). You access clips through their app. Footage is safe from physical theft, but you pay a monthly fee and your video passes through a third-party server.
Local storage: Video is saved on a microSD card inside the camera or on a network video recorder (NVR) in your home. There’s no ongoing cost, and your footage stays on your property. But if someone takes the camera or the SD card, the recordings go with it.
Hybrid: Many cameras offer both. They record to a local card for quick access and upload event clips to the cloud for backup. This is often the best balance of cost, convenience, and security.
Choosing the Right Cloud Camera
In 2026, the most popular cloud camera brands are Ring, Google Nest, Arlo, Wyze, and Eufy. Each has its own app ecosystem and cloud storage pricing. Here’s a quick comparison:
Ring (Amazon): Works with Alexa. Ring Protect starts around $4/month per camera or $13/month for unlimited cameras.
Google Nest: Integrates with Google Home. Nest Aware starts at about $8/month and covers all cameras. Strong person and package detection.
Arlo: Works with Alexa, Google, and Apple HomeKit. Arlo Secure starts around $8/month for one camera or $18/month for unlimited.
Wyze: Budget-friendly with cameras under $30. Cam Plus is about $2/month per camera. Good value with more limited cloud features.
Eufy: Focuses on local storage with optional cloud plans around $3/month. Good for people who want to avoid subscriptions.
What You Need Before Installation
Gather these before you start:
1. The camera and its power adapter or battery (fully charged if it’s a battery model)
2. A smartphone with the camera’s app installed (Ring app, Google Home, Arlo app, Wyze app, etc.)
3. Your Wi-Fi network name and password
4. A Wi-Fi signal at the installation location. Test this by standing where the camera will go and checking your phone’s signal strength. If it’s weak, you may need a Wi-Fi extender or mesh node nearby.
5. Mounting hardware (usually included with the camera): screws, anchors, and a mounting bracket
6. A drill if you’re mounting on a wall or ceiling
Step-by-Step Setup Process
The exact steps vary by brand, but the process is similar across all major cloud cameras:
1. Download the App and Create an Account
Install the manufacturer’s app from the App Store or Google Play. Create an account if you don’t have one. Most brands require an email address and password. Some, like Ring, also ask you to verify your email or phone number.
2. Add the Camera in the App
Open the app and tap “Add Device” or the plus icon. Select your camera model from the list. The app will guide you through the pairing process.
3. Power On the Camera
Plug in the camera or insert a charged battery. Wait for the LED to show it’s ready for setup. Most cameras blink a specific color when in pairing mode. If it doesn’t enter pairing mode automatically, press and hold the reset button for a few seconds.
4. Connect to Wi-Fi
The app will ask you to enter your Wi-Fi network name and password. Then it pairs the camera using one of these methods:
QR code scan: The app displays a QR code on your phone screen. You hold the phone in front of the camera’s lens so it can read the code. This is the most common method in 2026 and usually works on the first try.
Bluetooth pairing: Some cameras (like Nest and Arlo) pair over Bluetooth first, then the app sends the Wi-Fi credentials through the Bluetooth connection.
Direct Wi-Fi: The camera broadcasts its own temporary Wi-Fi network. You connect your phone to that network, configure the settings, then the camera switches to your home Wi-Fi.
5. Firmware Update
After the camera connects to Wi-Fi, it usually downloads and installs a firmware update. This can take 5 to 15 minutes. Don’t unplug the camera or close the app during this step.
6. Position and Mount the Camera
Before drilling any holes, use the live view in the app to check the camera’s angle and field of view. Hold the camera in the spot where you plan to mount it and verify that you can see the area you want to monitor.
Once you’re satisfied with the placement:
– Mark the screw holes using the mounting bracket as a template
– Drill pilot holes (use wall anchors for drywall or masonry)
– Attach the bracket and snap or screw the camera onto it
– Adjust the angle using the live preview
For outdoor cameras, run the power cable along walls or under eaves and use cable clips to secure it. Make sure all connections are weatherproof.
Cloud Storage Plans and Costs
Most cloud cameras give you some free features, like live viewing and basic notifications. But to store recorded clips, you typically need a subscription.
Free tiers vary by brand. Wyze and Ring offer limited free clip storage (12-second event clips for Ring without a plan, limited events for Wyze). Nest and Arlo require a paid plan for any video history.
Paid plans typically cost between $3 and $18 per month, depending on the brand and how many cameras you have. Most offer a discount for annual billing. The mid-range plans (around $8 to $13/month) usually include 30 days of video history and support for all your cameras.
If you have multiple cameras, look for unlimited-camera plans. Paying per-camera adds up fast if you have four or five cameras around your property.
Bandwidth Requirements
Cloud cameras need upload bandwidth. Each 1080p camera uses roughly 2 to 4 Mbps of upload when actively streaming. If your plan offers 10 Mbps upload, you can run two or three cameras continuously. Beyond that, video calls and file sharing may slow down.
Check your upload speed at fast.com or speedtest.net. If it’s limited, set cameras to record on motion events only instead of 24/7, which cuts bandwidth usage significantly.
Privacy and Security Considerations
Cloud cameras send your video to servers you don’t control, so security matters.
– Use a strong, unique password for your camera account. Don’t reuse a password from another service.
– Enable two-factor authentication on your camera account. Ring, Nest, and Arlo all support this.
– Keep firmware updated. Security patches are delivered through firmware updates. Enable automatic updates if the option is available.
– Review who has access. Most camera apps let you share access with family members. Periodically check that only the people you intend have access.
– Check your camera’s privacy settings. Some cameras have activity zones, privacy masks, or scheduling features that limit when and where the camera records.
If you’re concerned about cloud privacy, consider a hybrid approach. Use local storage for continuous recording and cloud backup for motion-triggered events only. That way, less footage leaves your home network.
Adding More Cameras Later
Most cloud platforms make adding cameras straightforward. Open the app, tap “Add Device,” and repeat the pairing process. The new camera appears alongside your existing ones in the same app.
Keep in mind that each additional camera adds to your bandwidth load and may push you into a higher-tier cloud plan. Plan your network capacity before scaling up, and consider a mesh Wi-Fi system if you’re placing cameras at different ends of your home or property.