When you purchase through links on our site, we may earn an affiliate commission. Here’s how it works.
Canon 6D MARK II landscape settings
The Canon EOS 6D Mark II is a full-frame DSLR that packs a lot of smart high-end features. It is built around the powerful DIGIC 7 image processor and has a 26.2 megapixel CMOS sensor that offers a sizeable resolution boost.
Also, this new sensor gives a native sensitivity range of ISO 100-40,000 which is expandable up to ISO 50-102,400 matching both EOS 5D MARK III and EOS 6D. Canon 6D MARK II has a 45-point (all cross-type) autofocus sensor while the original 6D has 11 AF points.
Start the job with the right equipment. Landscape photography requires an ultra-wide fixed lens so that you can capture the full context.
Landscape photos were taken with Canon 6D MARK II
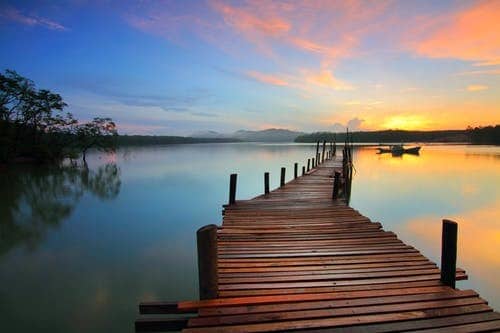
Canon 6D MARK II landscape photo

Canon 6D MARK II landscape photo -2
Steps to adjust Canon 6D MARK II landscape settings
STEP 1. Mastering white balance

Canon 6D MARK II landscape settings – white balance
To simplify digital photography’s white balancing means adjusting colors so that the image will get a more natural look. Your Canon flip screen camera has Auto White Balance settings (AWB).
When set correctly, it will remove the color cast to match the image with what we saw when we first took it. The majority of the time it works pretty fine.
However, during sunrise or sunset, capturing a landscape shot will give you bad results as the AWB does not do that much of a great job.
So, instead, try using a daylight white balance preset or some other preset according to your needed shot.
STEP 2. Higher aperture and lower aperture
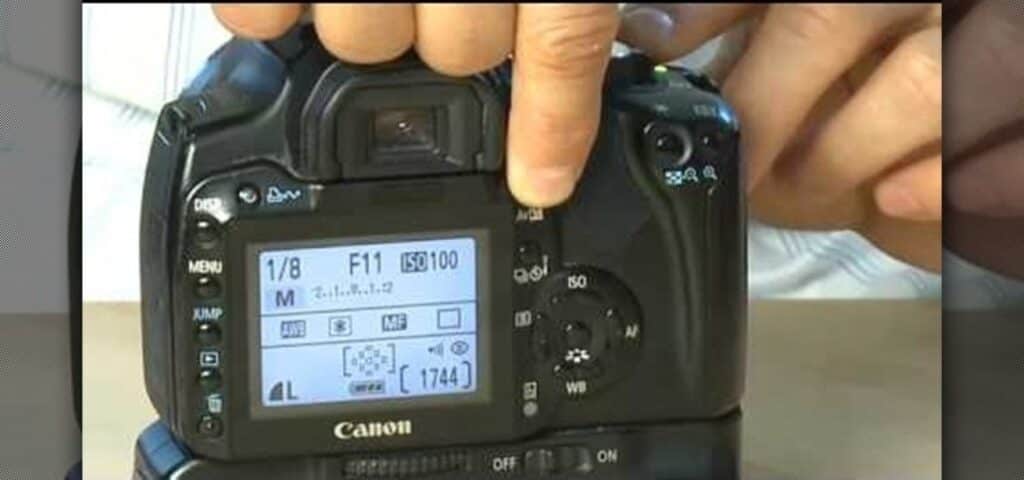
Canon 6D MARK II landscape settings – aperture adjustment
An aperture is the opening of the lens’s diaphragm through which light will pass. It’s well-calibrated in f/stops and written as numbers like 1.4, 2, 2.8, 4, 5.6, 8, 11, and 16.
So the higher f/stops give you lesser exposure, vice-versa, the lower f/stops give you more exposure because they represent the larger apertures.
In landscape photography, you usually want to have a large and deep depth of field to keep everything in focus, and to do that, set the camera to aperture priority (A or AV) mode and set it to a large number like f/13,f/16 or sometimes even f/22.
Change the value according to your needs. It will make a huge impact on your captured photos.
STEP 3. Adding a filter can improve your images
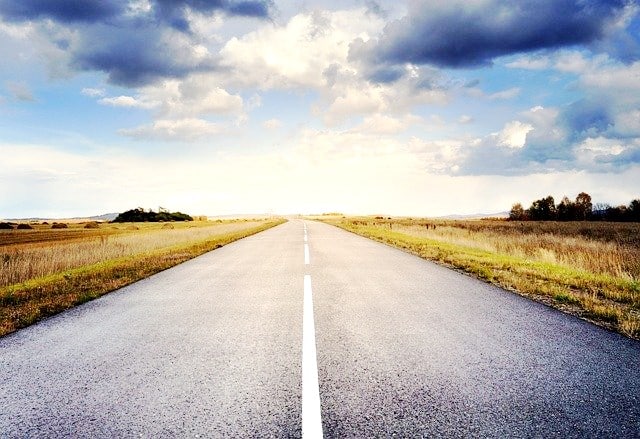
Canon 6D MARK II landscape settings – filter
Filters are cheap accessories, and in digital photography, adding a filter to the camera makes a big difference, especially while capturing landscape photographs.
For instance, a regular natural density filter allows the user to take long exposures without overexposing the image even in the daylight.
Using a polarizing filter lets you control how much blue the sky appears while enhancing the colors.
STEP 4. ISO settings
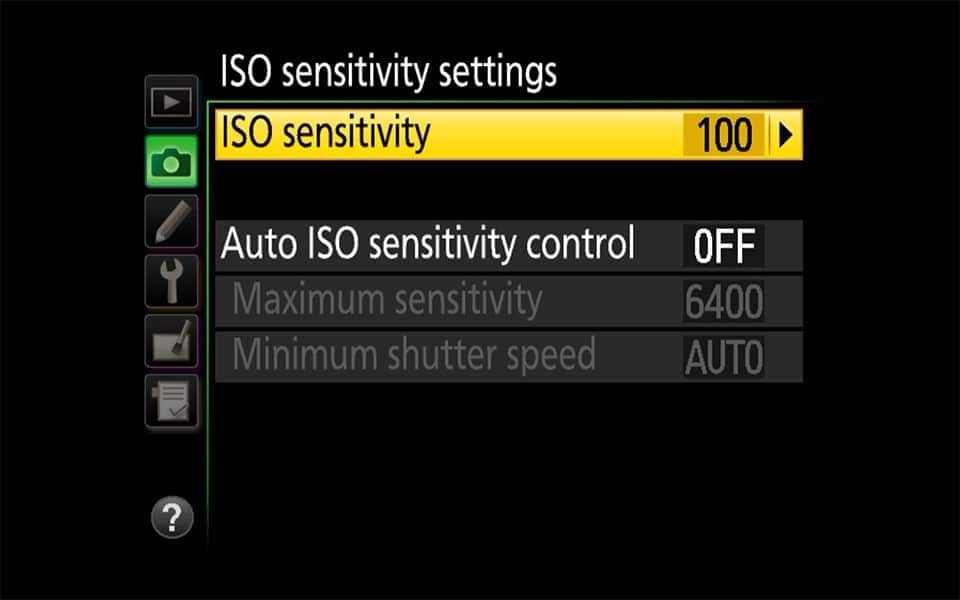
Canon 6D MARK II landscape settings – iso settings
The scale on which the sensitivity of light is measured is called ISO. ISO can be measured like this:- for example, if you use ISO 100, you will notice that it would be most useful for taking bright light shots due to its insensitivity to the light, whereas, if you use ISO 400, you will also notice that it is best suited for indoor photography where the light is low.
Also, keeping the ISO low (around 100 to 200) as much as possible will give you an image with less noise or grain, making it pretty clean.
With the new upgraded articulating touchscreen, you can use live view for low and high-angle shots. Just keep in mind that it drains the battery much faster than using a viewfinder does.
In the video segment, MARK II can record videos 1080p (full HD) at 60 (up from 30) frames per second and in movie recording.
It offers digital image stabilization as well. The connectivity options – WI-FI, Bluetooth, and NFC are all available for quick sharing.
Shoot amazing landscape photos following the above-mentioned steps.