Canon G7X Mark II Landscape Settings
The Canon G7X Mark II landscape settings let you take full advantage of this compact camera for outdoor scenery shots. As the follow-up to the original Canon G7X, the Mark II brings a better grip, faster processing, and improved image quality that make it a real contender for landscape work.
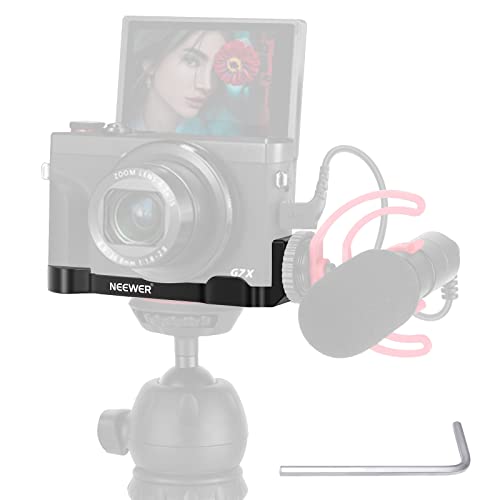
The updated rubber grip on the front makes the camera more comfortable to hold during long shooting sessions. Under the hood, the DIGIC 7 processor handles images faster and pushes the burst rate up to 8fps.
It keeps the 20.1MP 1-inch CMOS sensor from the rest of the Canon G-series lineup and supports RAW shooting, so you’ve got plenty of data to work with in post-processing.
The Canon G7X Mark II is a solid little camera for landscape photography, especially when you know how to set it up properly.
Landscape Photography with Canon G7X Mark II
Tips for Shooting Better Landscapes with the Canon G7X Mark II:
STEP 1. Plan Before You Go
Check the weather forecast and look up sunrise and sunset times before heading out. Knowing when the light will be best can make or break a landscape shot.
Scout your location ahead of time if possible. Think about what angle you want, where the sun will be, and whether the conditions match the mood you’re going for. Good planning gives you a much better chance of coming home with a great shot.
STEP 2. Pack the Right Gear
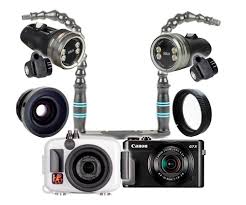
Even though the G7X Mark II is a compact camera, you still need to think about what you’re bringing along:
Extra Battery: Check your battery level before you leave and pack at least one spare. The G7X Mark II’s battery life isn’t the longest, and cold weather drains it even faster.
Spare Memory Cards: Shooting RAW files eats through storage quickly. Bring backups.
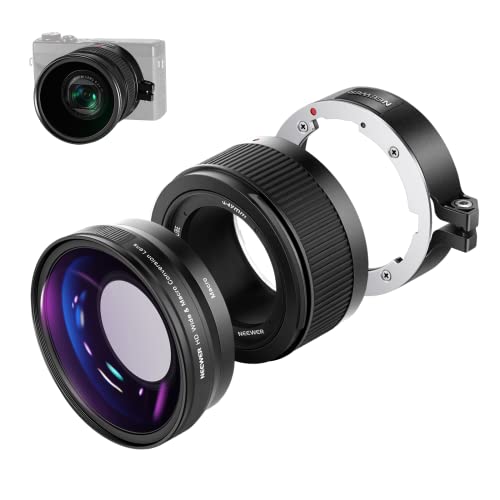
Filters: A circular polarizer or ND filter can make a huge difference in landscape shots, cutting glare and letting you use slower shutter speeds for water effects.
Warm Clothing: Temperatures can drop fast, especially if you’re shooting sunrise or staying out past sunset. Layer up.
Tripod: Even a small travel tripod makes a big difference for landscape sharpness. Don’t skip this one.
STEP 3. Camera Setup
For landscape shooting, switch to Aperture Priority (Av) mode. This gives you direct control over depth of field, which is what matters most in landscapes.
Set your ISO between 125 and 400 for the best balance of image quality and noise. If you’re on a tripod, stick with ISO 125 for the cleanest results. Only go higher (up to 1600) when you’re shooting handheld in dimmer conditions.
Switch to Manual Focus and focus about one-third into the scene. This old-school technique maximizes your depth of field so both foreground and background elements stay sharp.
The Canon G7X Mark II makes landscape photography accessible whether you’re a beginner or an experienced shooter. Its compact size means you’ll actually bring it with you, which is half the battle.
Landscape photography with the Canon G7X Mark II is especially rewarding when you take the time to plan your shots and dial in the right settings.