Canon EOS R Vlogging Settings You Should Know
Getting the right Canon EOS R vlogging settings dialed in makes a huge difference in the quality of your videos. Canon’s first full-frame mirrorless camera packs some serious video features, but many vloggers never touch the settings that actually matter.
Whether you just unboxed this camera or you’ve been shooting with it for a while, this guide walks through the settings you should adjust before hitting record.
Why the Canon EOS R Works for Vlogging
The EOS R is Canon’s entry into full-frame mirrorless territory, and it’s built with video shooters in mind. You get Full HD recording at 60fps, Dual Pixel autofocus for smooth face tracking, and a fully articulating touchscreen so you can see yourself while filming.
For beginner vloggers, it’s a strong option. For experienced creators, the manual controls and lens compatibility open up a lot of creative room. But none of that matters if you don’t set it up properly.
Setting Up Shooting Modes
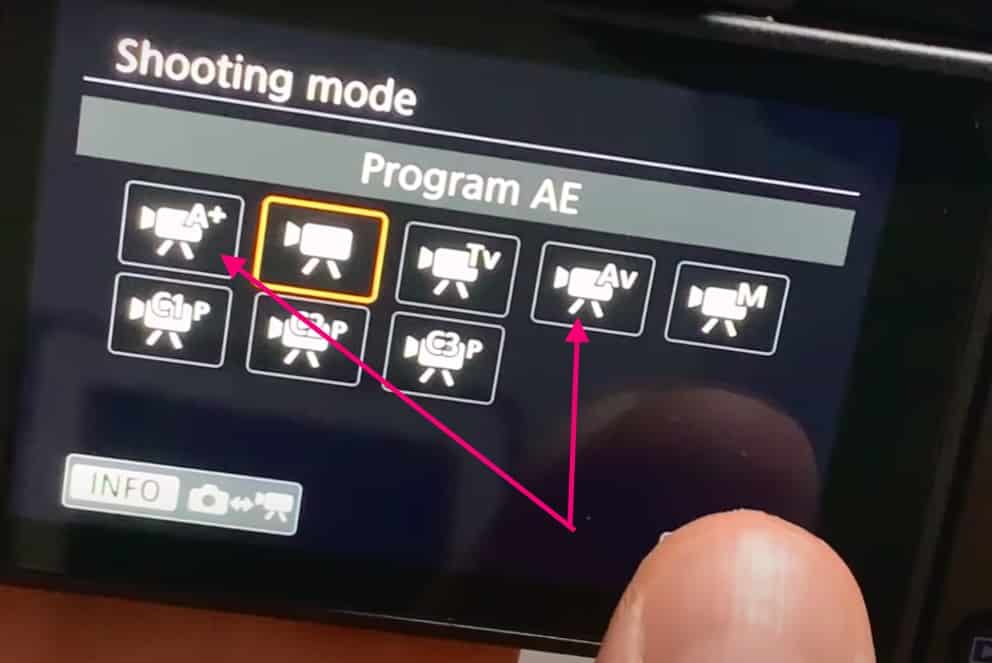
When you first power on the camera, it defaults to photo mode. To switch to video, press the Mode button on the right side near the top.
Credit @youtube.com
Once you’re in the mode selection screen, press the Info button to see your options. For beginners, there are two modes worth starting with:
Scene Intelligent Auto (A+ mode): This does most of the thinking for you. The camera adjusts exposure, white balance, and focus automatically. It’s the easiest way to start recording right away.
Aperture Priority AE (Av mode): This mode still handles most settings automatically, but it lets you control the aperture. That means you can blur the background behind you for a more professional look. Most experienced vloggers prefer this over full auto.
If you’re just starting out, try A+ mode for your first few videos. Once you’re comfortable, switch to Av mode for more control over how your footage looks.
How to Reset Camera Settings
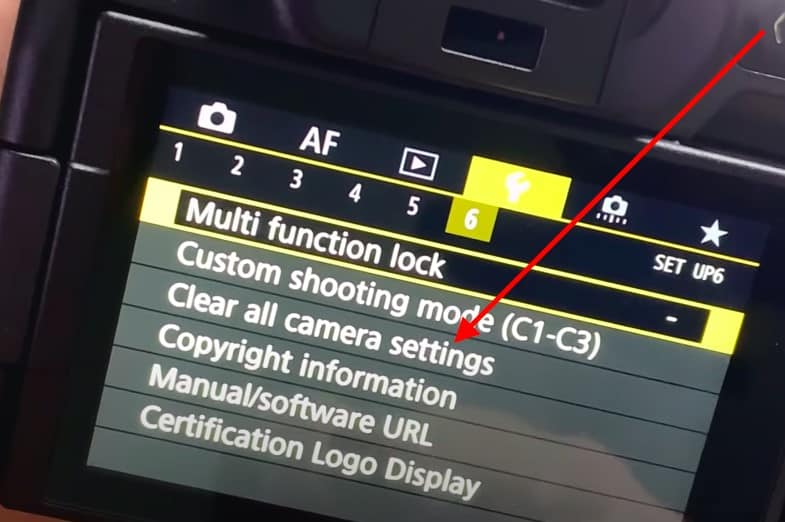
If you’ve been messing around with settings and things don’t look right, you can always start fresh. Go to the main menu, tap the Wrench icon, and scroll to the 6th page.
Credit @youtube.com
Select “Clear all Camera Settings” and confirm. This brings everything back to factory defaults, and you can start configuring from scratch.
Video Resolution and Frame Rate
This is the most important setting for video quality. Open the main menu and look for Movie Recording Quality under the first camera settings tab.
You’ll see three resolution options: HD, Full HD, and 4K.
Here’s the thing about 4K on the EOS R: the camera crops the image significantly in 4K mode, so you lose your wide-angle view. For vlogging, that’s a problem because you’re usually filming yourself at arm’s length and need all the width you can get.
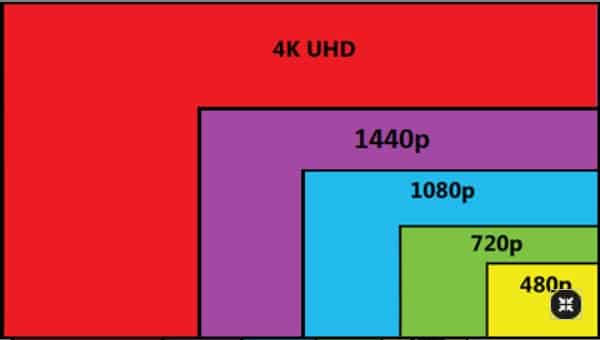
Set it to Full HD 59.94p IPB. This records at 1080p resolution at 60 frames per second, which gives you smooth, sharp video. If you want even better quality and don’t mind larger file sizes, try Full HD 59.94p ALL-I, which compresses less and retains more detail.
Sound Recording Settings
The built-in microphone on the EOS R is decent for casual clips, but if you’re serious about vlogging, you’ll want an external mic.
By default, sound recording is set to Auto. This works fine with the internal mic. But if you plug in an external microphone, switch to Manual in the Sound Recording menu. Manual mode gives you control over input levels so your audio doesn’t clip or sound too quiet.
Keep an eye on the audio meter while recording. You want the levels peaking around -12 dB to -6 dB for clean, natural-sounding audio.
Digital Image Stabilization
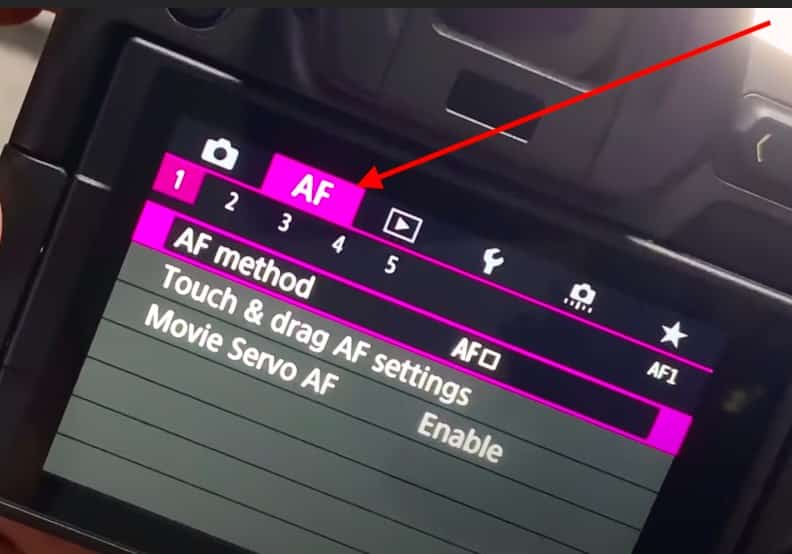
Here’s a setting that Canon ships turned off for some reason: Movie Digital IS.
Credit @youtube.com
Turn this on. It uses the camera’s built-in digital stabilization to reduce shake in your footage. If your video still looks jittery, try the Enhanced option, which applies stronger correction.
Keep in mind that digital stabilization does crop the image slightly, so you’ll lose a tiny bit of your field of view. But the trade-off is worth it if you’re shooting handheld.
Autofocus Settings
The EOS R’s Dual Pixel autofocus is one of its best features for vlogging. By default, it should track faces well. But there are a couple of tweaks worth making.
Switch the AF detection mode to the smiley face icon if you want the camera to prioritize faces and eyes. This keeps you in sharp focus even when you move around.
If you’re in a controlled environment and want total precision, you can also turn off autofocus entirely and switch to manual focus. There’s a physical AF/MF switch on the front of the camera body for quick toggling.
Using the Touchbar
The EOS R has a unique touchbar (the M-Fn bar) on the back of the camera. You can customize what it controls.
Go to the Customize menu and select “Customize M-fn Bar.” Many vloggers set this to control recording volume, so you can adjust audio levels with a quick swipe during filming. You can also customize other buttons through the “Customize buttons” option in the same menu.

Wrapping Up
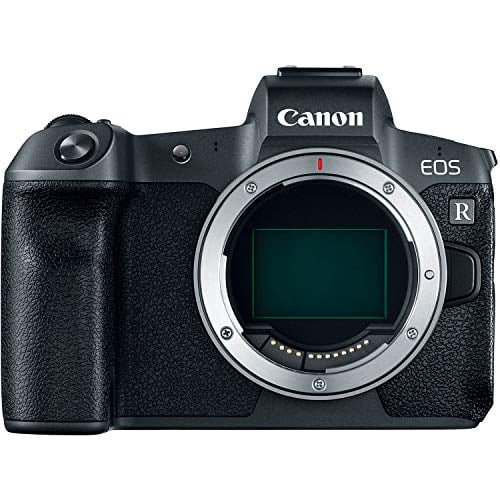
The Canon EOS R is a capable vlogging camera once you get the settings right. Set your resolution to Full HD at 60fps, turn on digital stabilization, switch to Av mode for background blur, and plug in an external mic for better audio. Those four changes alone will make your videos look and sound noticeably better.
Once you’re comfortable with the basics, start experimenting with manual settings, different lenses, and the touchbar controls to find a workflow that fits your style.
See Also